
How to Make Stud Earrings at Home
Making stud earrings at home is easier than it sounds. You don’t need a jewelry bench, soldering tools, or much experience. For a simple first pair, all you need is flat pad earring posts, small decorative pieces, and strong jewelry glue.
I’d start with something small and light, like faux pearls, flat-back cabochons, tiny charms, or polymer clay shapes. They’re easier to control, and if one pair turns out a little uneven, you can just try again.
In this guide, I’ll walk through the supplies, the basic steps, beginner-friendly styles, and the small mistakes I’d avoid.
What You Need to Make Stud Earrings
You don’t need a huge jewelry kit. You do need the right basic parts. Most beginner problems come from small things. The post is too small. The topper is too heavy. The glue dries cloudy. The back of the bead is curved, so it won’t sit flat. I’ve learned that the boring details matter here.
Flat Pad Earring Posts
Flat pad posts are the base of the stud earring. One side has the straight post that goes through your ear. The other side has a small flat circle where you glue your bead, charm, stone, or clay piece.
For most DIY studs, flat pad posts are much easier than trying to make the whole earring post from wire. If your ears get irritated easily, I’d look for:
- Stainless steel
- Surgical steel
- Titanium
- Sterling silver
- Gold-filled posts
I’d be careful with very cheap mixed-metal posts. They may look fine in the package, but they can make your ears itchy or sore after a few hours.
Personally, I’d rather spend a little more on the post and save money on the decorative part. The topper is what people see, yes. But the post is what sits in your piercing all day.
| Metal | Sensitive Skin? | Notes |
|---|---|---|
| Titanium | ✅ Best | Lightest, hypoallergenic |
| Surgical Steel | ✅ Good | Affordable, widely available |
| Sterling Silver | ⚠️ Usually OK | Can tarnish; avoid if reactive |
| Gold-Filled | ⚠️ Usually OK | More durable than gold-plated |
(Related article: What's the difference between titanium and stainless steel jewelry)
Earring Backs
You’ll also need backs to hold the earrings in place. Most beginner kits come with butterfly backs or rubber backs. Both are fine. Butterfly backs feel more classic. Rubber backs are softer and easy to slide on.
For slightly heavier studs, I like larger silicone backs or flat disc backs. They give the earring more support, so the stud does not tip forward as much.
This is one of those things you may not think about until you wear the earrings. A stud can look cute on the table, then droop on your ear because the back is too small.
Annoying. Very fixable, though.
(Related article: Types of earring backs and how to choose)
Jewelry Glue or Resin
This is where I would not use random household glue. For DIY stud earrings, you need an adhesive that dries strong and clear. E6000 is a common choice because it grips well and stays slightly flexible after drying. UV resin can also work, especially for shiny pieces or resin-based designs, but you’ll need a UV lamp.
Use glue in a ventilated area. E6000 has a strong smell, and I wouldn’t sit with my face right over it.
Also, use less glue than you think.
A tiny dot is usually enough. Too much glue squeezes out around the edge, dries unevenly, and can make the topper slide before it sets. That’s usually when the earring starts looking messy.
| Adhesive | Dry Time | Best For |
|---|---|---|
| E6000 | 24 hours | Most toppers; strong flexible bond |
| UV Resin | 1–2 min (lamp) | Shiny/resin pieces; needs UV lamp |
| Super Glue | Minutes | Not recommended — brittle, can cloud |
Tweezers, Toothpicks, and a Small Tray
You don’t need fancy tools for your first few pairs. A toothpick helps you place a tiny dot of glue exactly where you want it. Tweezers help you hold small beads, stones, or charms without getting glue on your fingers.
I’d also use a small tray lined with parchment paper or wax paper. It keeps the earrings in one place while they dry. Dried glue usually peels off parchment paper more easily than it does from a plate or table.
I’ve made the mistake of putting tiny projects directly on my desk before. Not worth it.
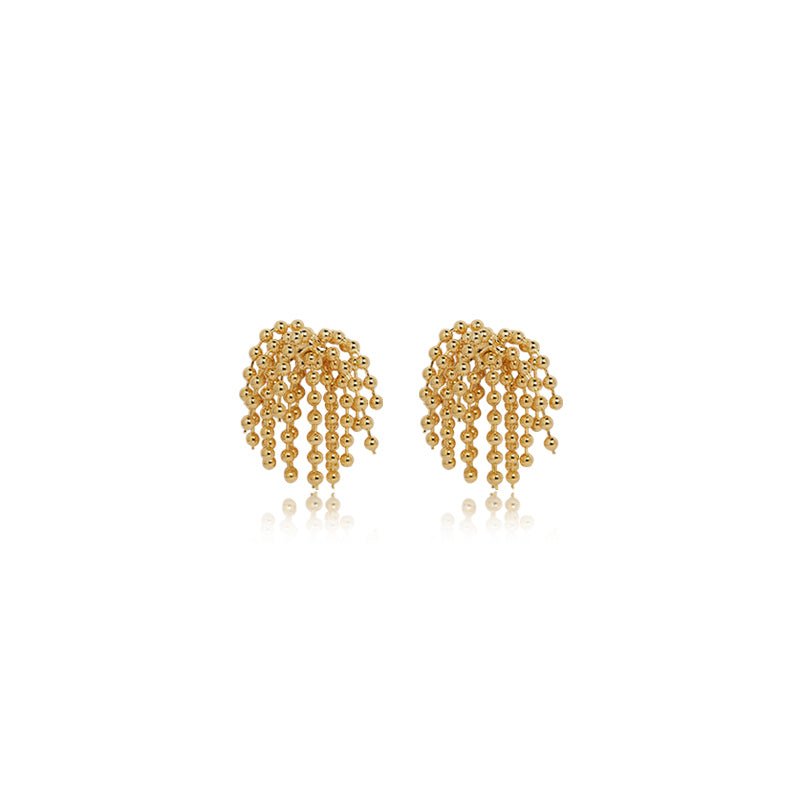
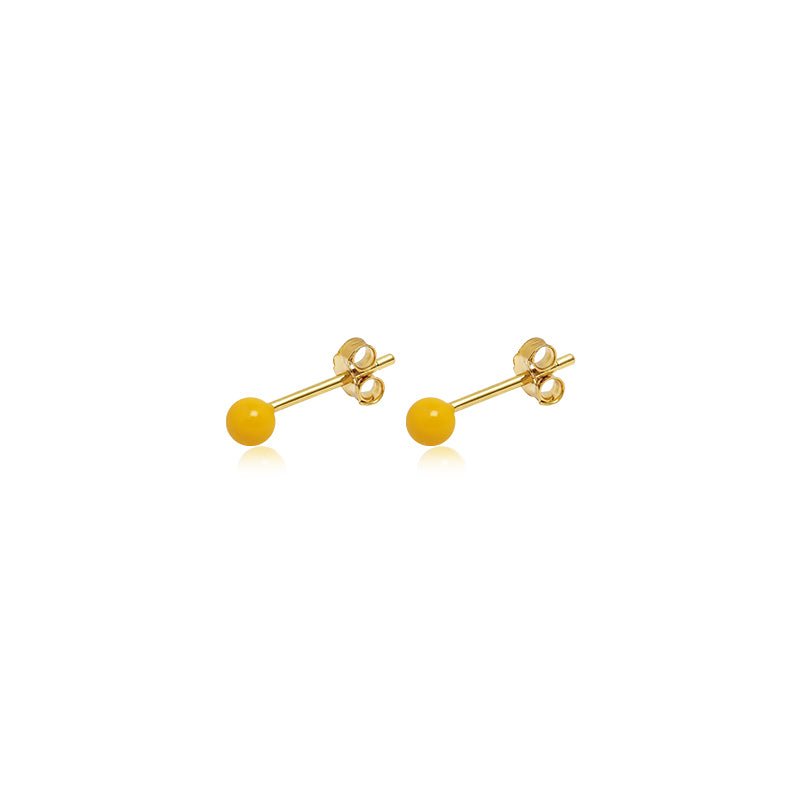
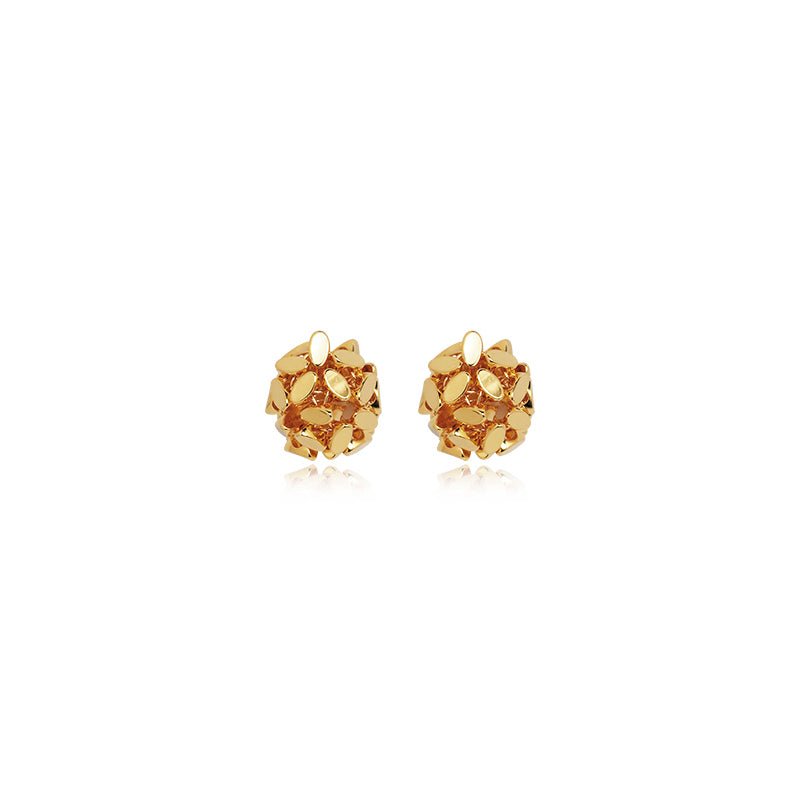
Decorative Toppers
This is the part people actually see when you wear the earrings. You can use:
- Flat-back cabochons
- Small beads with one flatter side
- Mini charms
- Polymer clay shapes
- Resin pieces
- Faux pearls
- Pressed glass
- Small fabric or leather shapes
For your first pair, I’d choose something small and flat. Around 6mm to 10mm is a comfortable size for everyday studs. Once you go bigger than 12mm, balance becomes more noticeable.
A heavy bead on a tiny post may droop. A charm with a curved back may not glue securely. A clay shape that has not been sanded flat may sit a little crooked.
The back of the topper matters as much as the front. I know, not the fun part. But it really does affect how clean the finished earring looks.
Optional Tools You Can Buy Later
You can make simple studs without many tools, but a few extras are helpful if you end up enjoying the process.
Jewelry pliers help if you want to bend wire or remove loops from charms. A nail file or fine sandpaper helps smooth the back of clay, resin, or plastic pieces. A mini UV lamp is useful if you want to work with UV resin instead of glue.
I wouldn’t buy everything at once. Make two or three pairs first. You’ll figure out pretty quickly whether you like clay, beads, wire, charms, or resin. Then buy the tools that match what you actually want to make.
Should You Buy a Stud Earring Kit?
A make-your-own stud earrings kit can be useful if you’re starting from nothing. Most kits include posts, backs, toppers, glue, and sometimes tweezers. They’re easy because you don’t have to match all the parts yourself.
The downside is that some kits include posts that feel cheap, or toppers you may never use. If your ears are sensitive, I’d buy the posts separately in a better metal. You can still use the beads, charms, or cabochons from a kit.
A kit makes sense for a first try, a craft night, or making earrings with friends. If you want earrings you’ll actually wear often, I’d be more selective with the posts.
5 Steps To Make Homemade Stud Earrings
Once you have the supplies, the process is simple. The part I wouldn’t rush is drying time. That’s where a lot of DIY earrings go wrong.
Step 1: Set Up Your Materials
Lay everything out before you open the glue. You’ll need:
- Two flat pad earring posts
- Two earring backs
- Two matching toppers
- Jewelry glue or UV resin
- A toothpick
- Tweezers
- Rubbing alcohol
- A cotton swab
- A small tray or parchment paper
Clean the flat pad of each post with rubbing alcohol. Then clean the back of each topper.
This step feels boring. I get it. But I’d still do it.
Oil from your fingers, dust, or powder from clay can weaken the bond. A quick wipe gives the glue a cleaner surface to grip.
Let the pieces dry for a minute before gluing.
Step 2: Add a Small Dot of Glue
Use a toothpick to place a small dot of glue in the center of the flat pad. Don’t cover the whole pad. When you press the topper down, the glue will spread.
For E6000, I’d use less than you think you need. For UV resin, use one small drop and keep the piece steady before curing.
If glue starts coming out around the sides, you probably used too much. You can clean the edge gently with a toothpick before it dries.
Step 3: Press the Topper Into Place
Pick up your topper with tweezers and place it onto the glued pad.
Press gently for about 10 to 20 seconds. You don’t need to force it down. You just want both surfaces to meet evenly.
Before the glue starts setting, check the angle.
Look at it from the front. Then from the side.
Is it centered? Is it sitting flat? Does it tilt?
This is much easier to fix now than after it dries. I’d rather spend an extra 20 seconds checking than end up with one stud facing slightly sideways.
Step 4: Let It Dry Fully
If you’re using E6000, leave the earrings alone for at least 24 hours. Put them topper-side-up on parchment paper and keep them somewhere dry.
If you’re using UV resin, cure it under a UV lamp for 1 to 2 minutes, or follow the resin instructions. I’d still let the earrings sit for a bit after curing so they feel fully hardened before wearing.
Try not to keep touching them.
I’ve done that before with small projects. You check it once. Then again. Then you nudge the topper by accident. Suddenly the clean little stud has a cloudy glue mark on one side.
Leave it alone if you can.
Step 5: Add the Backs
Once the earrings are fully dry, slide on the earring backs.
Give each topper a gentle tug. Don’t pull hard. Just check that it feels secure.
If it moves, let it dry longer or reglue it.
And that’s your first pair.
Easy Stud Earring Styles to Try
Once you understand the basic process, you can change the look by changing the topper.
I’d start with one of these styles.
| Style | Difficulty | Watch Out For |
|---|---|---|
| Gemstone / Cabochon | ⭐ Easy | Weight if stone is thick |
| Faux Pearl / Bead | ⭐ Easy | Rolling while glue sets |
| Charm | ⭐⭐ Medium | Remove loop; file back flat |
| Polymer Clay | ⭐⭐ Medium | Sand back flat before gluing |
| Wire Shape | ⭐⭐⭐ Advanced | File sharp ends; use quality wire |
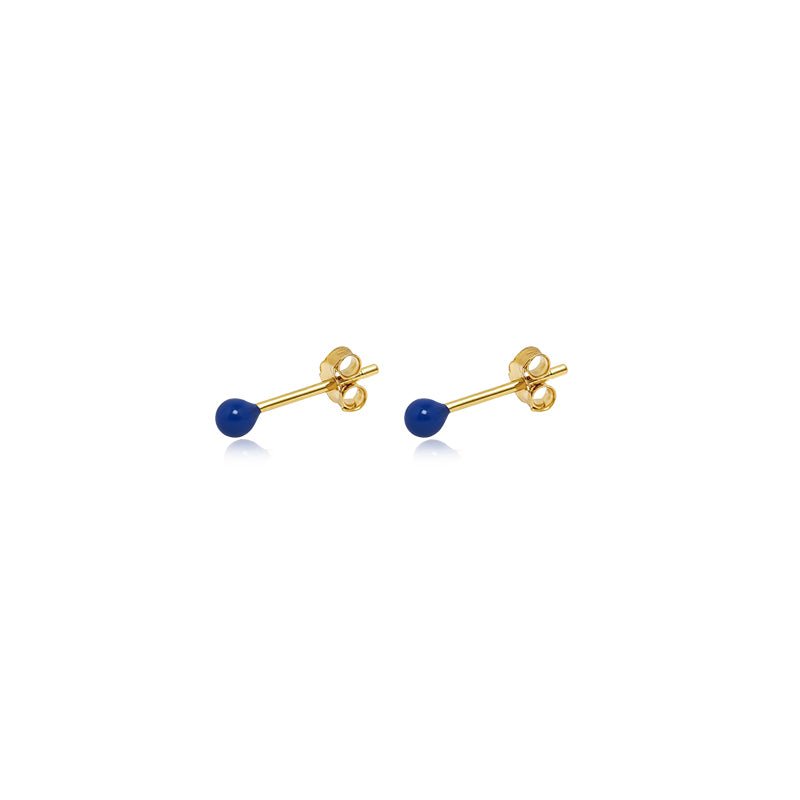
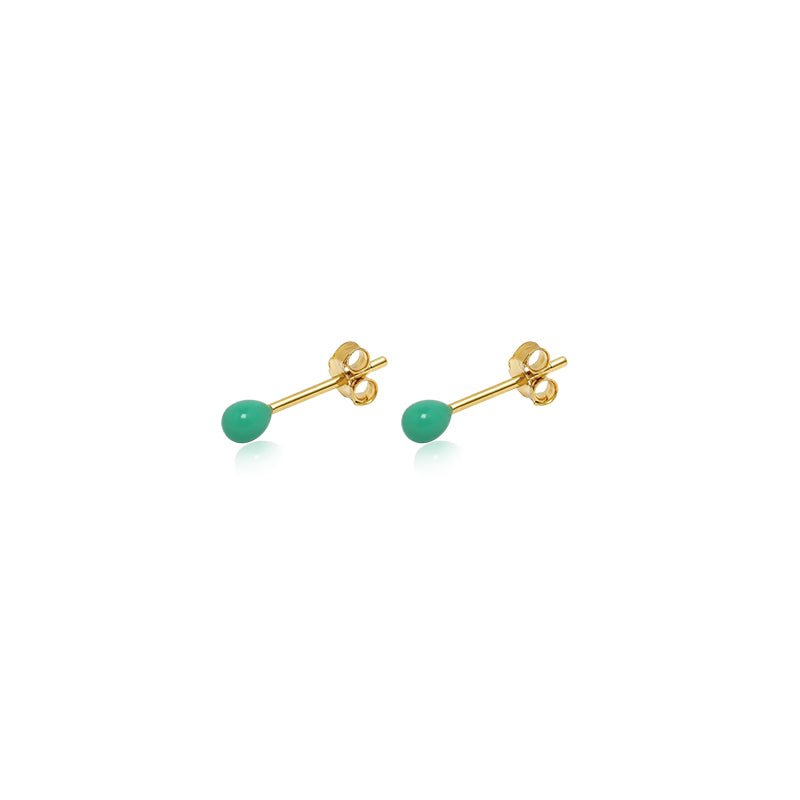
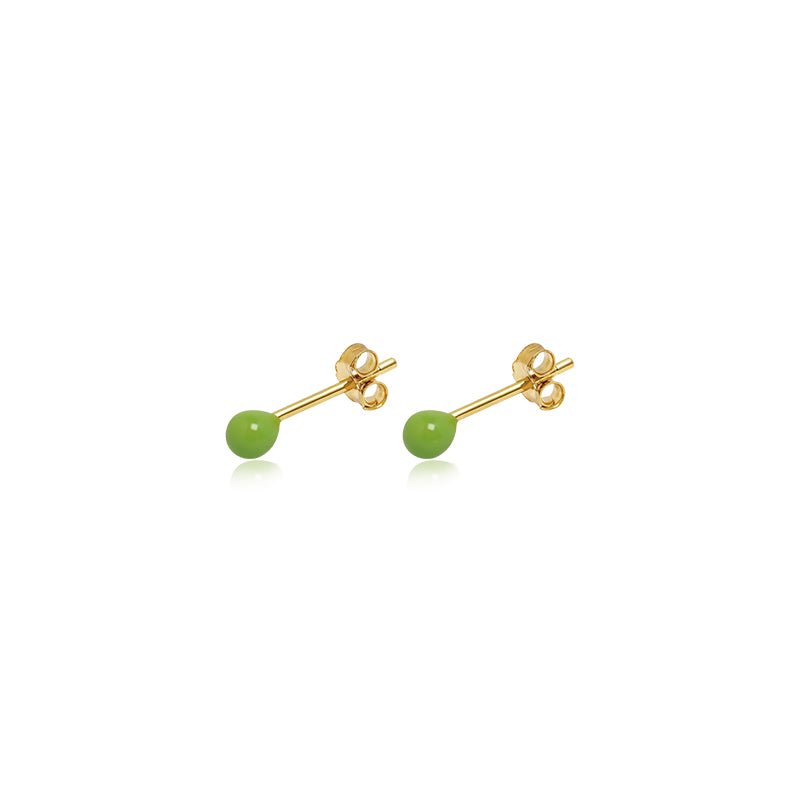
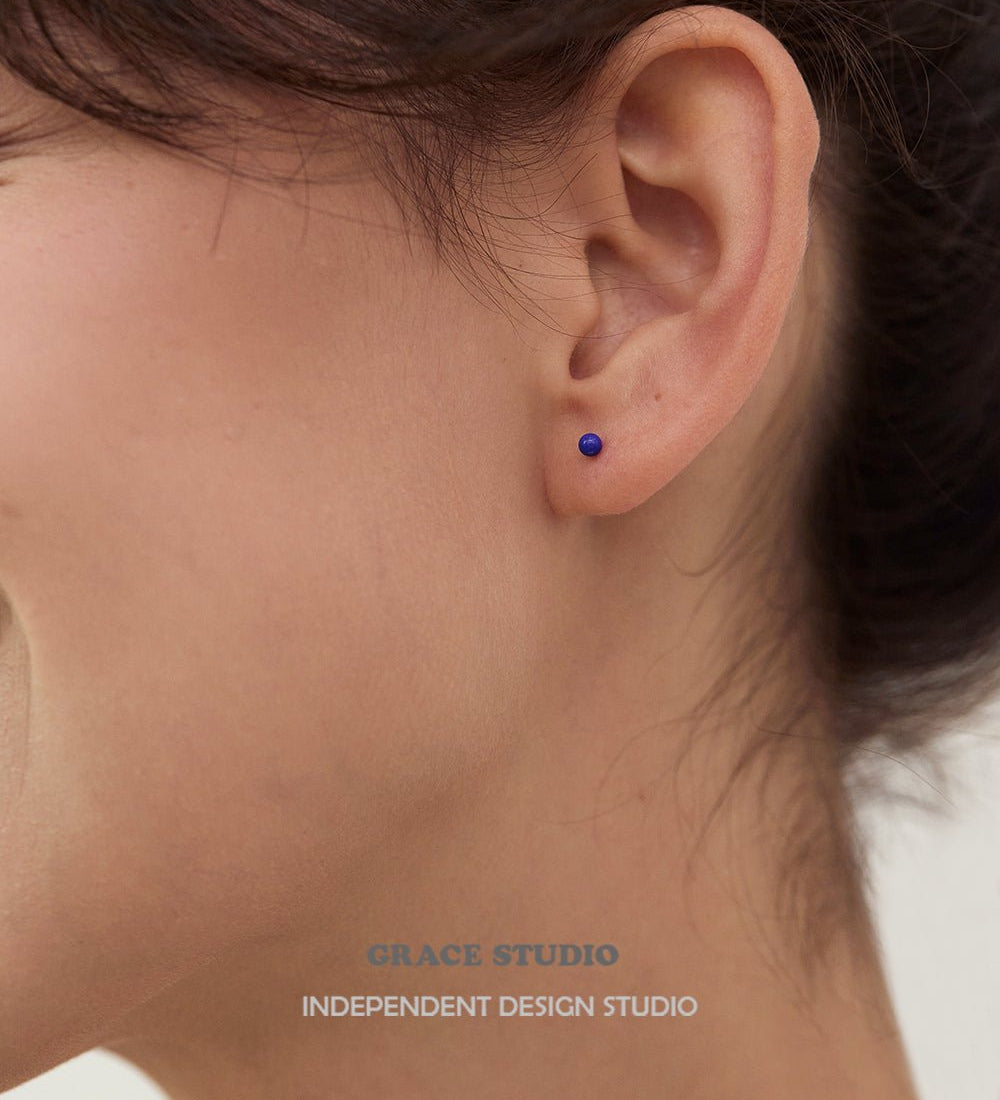
Gemstone Stud Earrings
Gemstone-style studs are one of the easier DIY versions because flat-back stones are made for this kind of project.
You can use faux opal cabochons, druzy-style pieces, turquoise-look stones, quartz chips, or tiny birthstone-style cabochons.
For comfort, keep the stones small. Around 6mm to 10mm works well for most ears. If the stone is thick or heavy, use a larger earring back for support.
Here’s how I’d make them:
- Clean the back of the stone and the post. Add a tiny dot of glue to the flat pad. Press the stone into place. Let it dry for 24 hours.
- For gifts, birthstone colors are a nice idea. A small green stone for May, deep blue for September, clear crystal for April. It feels personal without making the project harder.
Charm Stud Earrings
Small charms can make fun studs, especially if you like stars, moons, hearts, shells, tiny bows, or mismatched pairs.
The main issue is the loop. Many charms are made to hang from necklaces or hoop earrings, so they come with a little ring or hook at the top. For stud earrings, you usually need a flatter back.
Use wire cutters to remove the loop if you can. Then smooth the back with a nail file. Some charm ideas I’d try:
- Sun and moon
- Star and heart
- Cat and paw
- Shell and pearl
- Tiny bows
- Mini flowers
I’d avoid heavy charms for studs. They can pull forward and make the post feel uncomfortable, even if they look cute in your hand.
Bead Stud Earrings
Beads give you more color and texture, but they can be a little irritating to work with because they roll.
If you want to use beads, choose ones with a slightly flat side. Faux pearls, faceted glass beads, wood beads, or small crystal beads can work.
A bead cap can help with round beads. You glue the bead into the cap, then glue the cap onto the post. It gives the bead a flatter base and makes the finished earring look cleaner.
Keep the beads light. A big glass bead may look pretty, but it may not sit well on your ear. This is one of those times where smaller usually wins.
Wire Stud Earrings
Wire studs take a bit more patience, but they’re good if you like simple shapes.
Use 20 to 22 gauge wire. That range is usually comfortable for earrings and still firm enough to hold a small shape. You can bend the wire into:
- Tiny hearts
- Spirals
- Triangles
- Circles
- Soft curves
- Initials
Use pliers to shape the wire, then file any sharp ends. You can glue the shape onto a flat pad post, or if you’re more comfortable with wire work, you can bend the wire into a post shape.
For materials, I’d stick with sterling silver, stainless steel, titanium, or gold-filled wire. Very cheap craft wire can tarnish quickly or bother sensitive skin.
(Related article: How to wear stud earrings)
A Quick Bonus: DIY Studs for Clothing
If you like working with small metal pieces, clothing studs are another easy project.
They’re not the same as stud earrings, but some of the tools overlap. You can use them on denim jackets, canvas bags, belts, jean pockets, hats, collars, or boots. There are two common types:
- Screw-back studs
- Prong-back studs
Screw-back studs feel more secure on thicker materials like leather belts or heavy denim. Prong-back studs are easy to use on fabric, but you need to fold the prongs tightly so they don’t scratch your skin or catch on clothing.
How to Add Studs to Clothing
Start by planning your design.
Use chalk or a tailor’s pencil to mark where each stud will go. If you’re doing a row along a pocket, cuff, or collar, measure the spacing.
A tiny spacing difference may not seem like much at first. Once the studs are attached, though, uneven rows are easy to notice.
Next, make a small hole.
Use an awl or fabric hole punch for denim, canvas, or leather. The hole should be just big enough for the screw or prongs. If the hole is too large, the stud can wiggle loose.
Then attach the stud.
- For screw-back studs, push the screw through the fabric from the inside. Add the stud cap on the outside and twist it tight.
- For prong-back studs, push the prongs through the fabric and fold them inward with pliers.
Give each stud a gentle tug when you’re done. If it moves, tighten it before wearing the piece.
I’d start small here too. A single row of studs along a denim jacket cuff usually looks cleaner than covering the whole jacket on your first try.
Earring Fit and Comfort
DIY earrings should look good, but they also need to feel good. If they hurt after 30 minutes, you probably won’t wear them much. I’ve had earrings like that. Cute in photos, annoying in real life. They end up sitting in a dish somewhere.
Common Beginner Mistakes
The small details make DIY studs look better. These are the things I’d watch closely.
Using Too Much Glue
More glue does not always mean a stronger earring. A small dot in the center of the pad is usually enough. Too much glue spreads out, looks cloudy, and can make the topper slide.
If glue comes out around the edge, wipe it carefully with a toothpick before it dries.
Skipping the Cleaning Step
Dust, oil, and residue can weaken the bond. Clean the post and topper with rubbing alcohol before gluing. This is especially useful for clay, resin, glass, or metal pieces that may have fingerprints or powder on them.
I know it feels like a fussy step. I’d still do it every time.
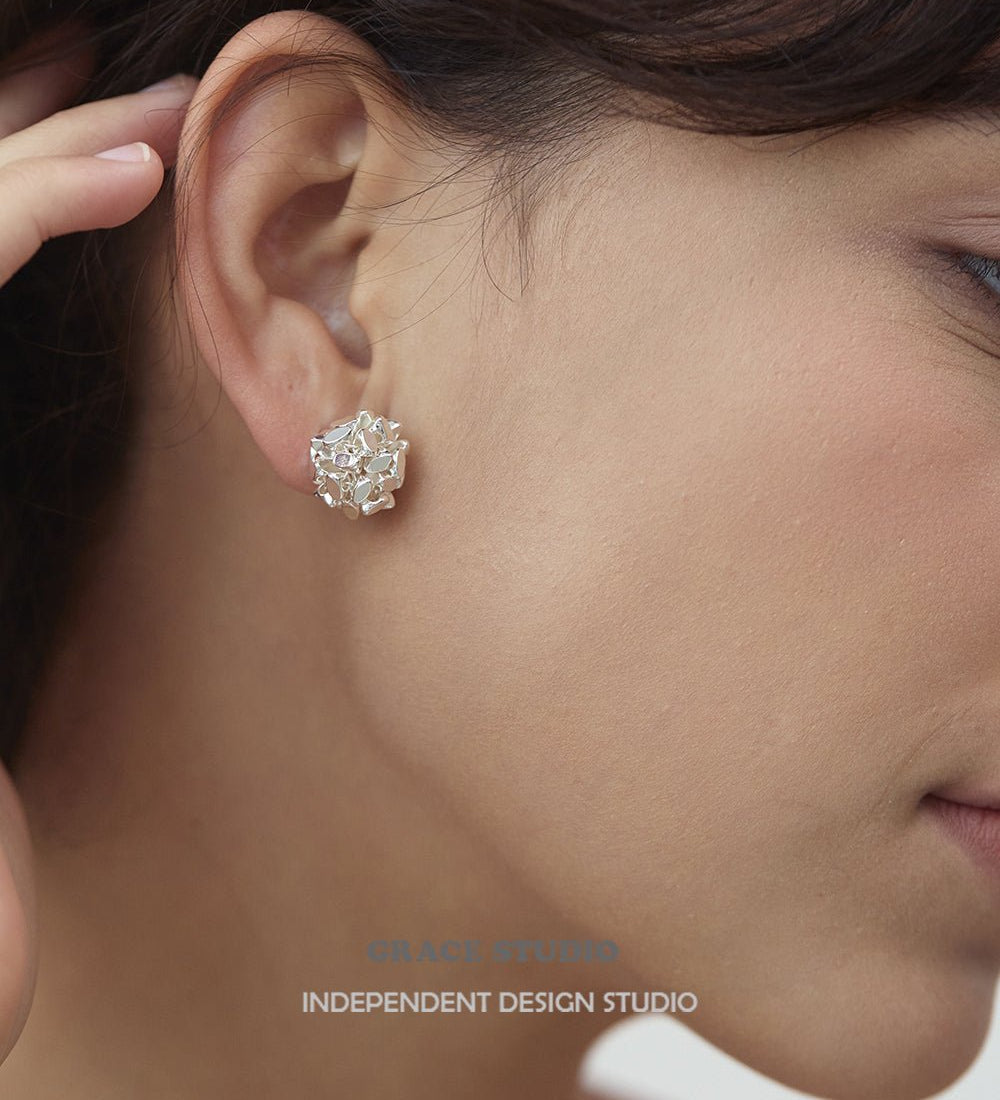
Choosing Toppers That Are Too Heavy
A topper can look small and still be too heavy. Glass, stone, and metal charms usually weigh more than clay, resin, acrylic, or hollow shapes. If a topper feels heavy in your hand, it may pull on your ear.
For everyday studs, I’d choose light materials first.
Not Checking the Balance
Before the glue dries, check the earring from the front and side. The topper should sit centered on the pad. It should not tilt forward or lean to one side.
For round beads, this matters even more. A bead that dries slightly off-center will look crooked when worn.
Wearing Them Too Soon
E6000 needs time. Even if the earring feels dry after a few hours, I’d still let it cure for a full 24 hours. If you wear it too early, the topper can pop off or shift.
I’d make the earrings at night and leave them until the next day. It’s less tempting to keep touching them that way.
FAQ
What Gauge Are Most Stud Earrings?
Most standard stud earring posts are around 20 gauge, which is about 0.8mm thick. That works for most regular ear piercings. Here’s a simple guide:
- 22g, about 0.6mm, slightly thinner than average
- 20g, about 0.8mm, standard for most studs
- 18g, about 1.0mm, a little thicker
If you’re making posts from wire, 20g or 22g is usually a good place to start. If your ears are sensitive or your piercings are small, I’d choose 22g.
How Heavy Should Earrings Be?
For everyday wear, lighter is usually better. A good range is under 7 to 10 grams per earring. That tends to feel comfortable for most people.
Around 10 to 15 grams may still be wearable, but you may need larger backs or support patches. Over 15 grams can start pulling on the lobe, especially if the earring is long or unbalanced.
If you’re unsure, use a kitchen scale. It sounds a bit extra, but it helps. Weigh one finished earring. It takes 10 seconds and can save you from making a pair you’ll never reach for.
Can Hoop Earrings Stretch Your Ears?
They can, especially if they’re too heavy or worn for long periods. The stretching usually happens slowly. Oversized hoops, thick metal earrings, and heavy dangling styles can pull on the piercing over time.
To reduce that pull, I’d try this:
- Choose hollow hoops instead of solid heavy ones
- Use resin, acrylic, or thin wire for larger styles
- Take earrings off before bed
- Avoid heavy earrings during workouts
- Rotate heavy pairs with studs or lighter earrings
If your piercing already feels sore or stretched, I’d take a break from heavy earrings for a while.
How to Stop Heavy Earrings From Drooping
If you love larger studs or chunky earrings, support backs can help. Try:
- Large silicone backs
- Flat disc backs
- Stick-on lobe support patches
These spread the weight across more of your earlobe, so the earring sits better and pulls less. They won’t make a very heavy earring feel weightless. Still, they can help with medium-weight pairs that tilt forward.
Where to Buy DIY Earring Supplies
You don’t need expensive materials for your first few pairs. You do need parts that feel safe and sturdy enough to wear.
Craft Stores
Michaels, JoAnn Fabrics, and Hobby Lobby usually carry beads, charms, glue, pliers, and earring findings.
The quality can vary, so check the metal type before buying posts. If the package only says “metal alloy,” I’d skip it if you have sensitive ears.
Craft stores are helpful when you want to see the size and color in person. This is especially useful for beads and charms, because online photos can make tiny pieces look much bigger than they are.
I’ve been fooled by that before. Something looks dainty online, then it arrives and it’s basically the size of a coat button.
Online Shops
Amazon is easy for starter packs, posts, backs, and tools. Etsy is better for more specific parts, like handmade clay pieces, unusual cabochons, or custom charms.
Fire Mountain Gems is useful if you want more bead options or plan to make several pairs. AliExpress has cheap variety packs, but shipping can take a while, and quality is inconsistent.
For anything that touches your ear, I’d spend a little more and choose better metal. You can save money on toppers, but posts should be comfortable.
What to Search For
Useful search terms:
- Flat pad earring posts
- Stainless steel stud earring posts
- Surgical steel earring findings
- Flat back cabochons
- Mini charms for earrings
- DIY stud earring kit
- Large silicone earring backs
- Disc earring backs
- UV resin for jewelry
If you’re buying a kit, check how many pairs it makes and whether glue is included. Some kits look complete in the photo but still require separate adhesive.
Infographic


Leave a comment