
How to Make Pearl Drop Earrings: A Beginner's Guide
Pearl drop earrings are a timeless addition to any jewelry collection. Their elegant simplicity makes them perfect for everyday wear or special occasions. The best part? You can create your own pair at home, even if you're new to jewelry making. Crafting your own earrings is not only budget-friendly but also incredibly rewarding, you get to wear something you made with your own hands! In this guide, I’ll walk you through the process of making pearl drop earrings from scratch, including variations with beads, string, and even stud styles. Whether you're crafting for yourself or gifting a pair to someone special, this step-by-step tutorial will make the process fun, approachable, and achievable.
By the end of this article, you’ll know how to create classic pearl drop earrings, customize them with beads or string, and even make pearl stud earrings. I’ll share practical tips, household hacks, and beginner-friendly advice to ensure your earrings turn out beautifully. Let’s dive into the world of DIY jewelry and get started!
Materials Needed
Before we begin, let’s gather everything you’ll need to make pearl drop earrings. Having your materials ready will make the process smooth and enjoyable. Don’t worry if you’re on a budget, many of these items are affordable, and I’ll suggest alternatives where possible.
For the classic pearl drop earrings, you’ll need round-nose pliers, chain-nose pliers, and wire cutters. These are the holy trinity of jewelry-making tools. Round-nose pliers have rounded tips, perfect for creating loops in wire, while chain-nose pliers are great for gripping and bending. Wire cutters ensure clean cuts for a polished finish. If you don’t own these, check your local craft store or online retailers like Amazon or Etsy. A basic jewelry-making kit often includes all three for under $20. As a household hack, if you have needle-nose pliers from a toolbox, they can double as chain-nose pliers in a pinch, though they’re less precise.
You’ll also need pearls, which are the stars of the show. Freshwater pearls are a great choice for beginners because they’re affordable and come in various sizes and colors. For drop earrings, 6-8mm pearls work well, they’re noticeable but not too heavy. You’ll need two matching pearls for a pair of earrings. If you’re adding beads, pick small glass or metal spacer beads (2-4mm) to complement the pearls. Headpins are essential for classic drop earrings; these are thin metal pins that hold the pearl and form a loop to attach to the ear wire. Choose 1.5-2 inch headpins with a flat or ball end. Ear wires, also called earring hooks, are the part that goes through your ear. Look for hypoallergenic options like sterling silver or surgical steel if you have sensitive ears.
For the string variation, you’ll need jewelry string, such as silk or nylon cord, and a needle thin enough to pass through your pearls. Crimp beads are handy for securing the string to the ear wire. For stud earrings, you’ll need flat-back stud posts and strong jewelry glue, like E6000. If you’re on a budget, check dollar stores for basic craft glue, but test it first to ensure it holds. Optional safety gear includes gloves (for glue) and eye protection (if you’re cutting wire). A clean towel or mat can keep your workspace tidy and prevent pearls from rolling away.
Sourcing materials is easier than you might think. Craft stores like Michaels or Joann carry most of these items, and online platforms like Fire Mountain Gems or Beadaholique offer bulk options. If you’re looking for a budget hack, check thrift stores for old jewelry you can repurpose, vintage necklaces often yield pearls or beads. For string, you can even use strong sewing thread from your home, though it’s less durable.
Step-by-Step Instructions

Now that your materials are ready, let’s get crafting! We’ll start with setting up your workspace and then walk through each method: classic pearl drop earrings, bead-enhanced drop earrings, string-based drop earrings, and pearl stud earrings. Each step is designed to be clear and beginner-friendly, with tips to avoid common pitfalls.
Step 1: Prepare Your Workspace
A well-organized workspace sets the stage for success. Choose a flat, well-lit surface, like a kitchen table or desk. Natural light is ideal, but a desk lamp works too. Lay down a clean towel or a beading mat to keep your pearls and beads from rolling away. If you don’t have a beading mat, a folded dish towel or even a piece of felt from a craft store will do the trick. Arrange your tools, pliers, wire cutters, and needle (if using string), within arm’s reach. Keep your pearls, headpins, ear wires, and other materials in small bowls or containers to stay organized. If you’re using glue for studs, ensure your area is well-ventilated, as some adhesives have strong fumes.
Take a moment to double-check your materials. Count out two pearls, two headpins, and two ear wires for a pair of classic drop earrings. For the bead variation, have four to six small beads ready. For the string version, cut two 6-inch pieces of jewelry string. This prep step might seem basic, but it saves time and prevents frustration later. I once started a project only to realize mid-way that I was missing an ear wire, don’t make that mistake!
Step 2: Select and Prepare Pearls
Choosing the right pearls is key to beautiful earrings. For drop earrings, 6-8mm freshwater pearls are ideal because they’re lightweight and versatile. If you’re making studs, smaller 4-6mm pearls work better, as they sit closer to the ear. Pearls come in white, cream, pink, or even black, so pick a color that suits your style. Check each pearl for blemishes or irregularities. Hold them up to the light to ensure they match in size and sheen. If you’re on a budget, don’t worry about perfection, slightly imperfect pearls still look stunning and add character.
Clean your pearls gently with a soft cloth to remove dust or oils. If they’re secondhand, soak them briefly in lukewarm water with a drop of mild dish soap, then pat dry. This ensures they sparkle in your finished earrings. Lay out your two chosen pearls side by side to confirm they’re a good pair. If you’re adding beads, select ones that complement the pearls in color and size. For example, tiny silver spacer beads pair beautifully with white pearls, while glass beads in soft pastels add a pop of color.
Step 3: How to Make Pearl Drop Earrings from Scratch
Let’s start with the classic pearl drop earring, which uses headpins and wire to create a simple, elegant design. This method is perfect for beginners because it introduces basic wire-working techniques.
Take a headpin and slide one pearl onto it, ensuring the flat or ball end of the headpin stops the pearl from slipping off. The headpin’s wire should extend above the pearl. Next, use your round-nose pliers to grip the wire just above the pearl. Bend the wire at a 90-degree angle to form a small “L” shape. This bend is the foundation for your loop. Now, wrap the wire around the tip of the round-nose pliers to create a loop. Keep the pliers steady and use your fingers to guide the wire into a full circle. Don’t worry if your first loop isn’t perfect, practice makes progress! Once the loop is formed, use wire cutters to trim any excess wire, leaving just enough to complete the circle.
Now, take an ear wire and use your chain-nose pliers to gently open its loop (most ear wires have a small loop at the bottom). Slip the pearl’s loop onto the ear wire’s loop, then close the ear wire’s loop securely with the pliers. Give it a gentle tug to ensure it’s secure. Repeat this process for the second earring, making sure the loops and pearl sizes match for symmetry. This method is straightforward but creates a polished, professional look. If you don’t have headpins, a household hack is to use a straightened paperclip, though it’s trickier to work with and less durable.
Step 4: How to Make Pearl Drop Earrings with Beads
Adding beads to your pearl drop earrings is a fun way to personalize the design. This variation builds on the classic method, so you’ll use the same wire-working skills with a twist.
Start by sliding a small bead (like a 2mm silver spacer) onto the headpin, followed by your pearl. You can also add another bead above the pearl for extra flair. The beads act as accents, so choose ones that enhance the pearl without overpowering it. For example, I once made a pair with tiny blue glass beads above white pearls, and the contrast was stunning for a summer look. After threading the beads and pearl, follow the same loop-making process as in Step 3: bend the wire at a 90-degree angle above the top bead, form a loop with round-nose pliers, and trim the excess wire. Attach the completed drop to an ear wire, just like before.
The key here is balance. Too many beads can make the earrings heavy, so stick to one or two small beads per earring. Check that the beads sit snugly against the pearl to avoid gaps. If you’re short on beads, try repurposing small beads from old jewelry or even tiny buttons from a sewing kit for a quirky touch.
Step 5: How to Make Pearl Drop Earrings with String
For a softer, bohemian vibe, you can make pearl drop earrings using jewelry string instead of wire. This method is great if you prefer a delicate, flowing look or want to avoid wire-working.
Cut a 6-inch piece of jewelry string (silk or nylon works best). Thread a needle with the string and pass it through your pearl. If the pearl’s hole is too small for the needle, try a thinner thread, like embroidery floss, as a budget-friendly alternative. Position the pearl in the middle of the string and tie a small, tight knot below it to keep it in place. If you’re adding beads, slide one or two onto the string above or below the pearl before knotting. For example, a tiny crystal bead above the pearl adds a touch of sparkle.
To attach the string to the ear wire, fold the string’s ends together to form a loop and slide a crimp bead over both ends. Pass the string ends through the ear wire’s loop, then back through the crimp bead to create a secure connection. Use chain-nose pliers to gently squeeze the crimp bead flat, locking the string in place. Trim any excess string with scissors for a neat finish. Repeat for the second earring, ensuring the pearls and knots align for symmetry. This method is forgiving for beginners because string is easier to manipulate than wire, but take care to make your knots tight to prevent slipping.
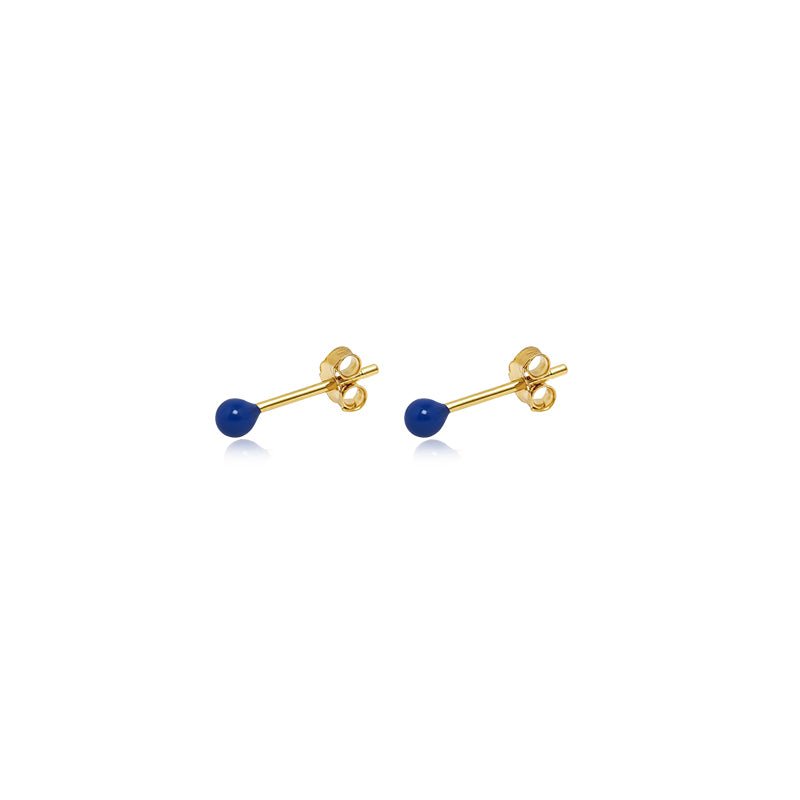
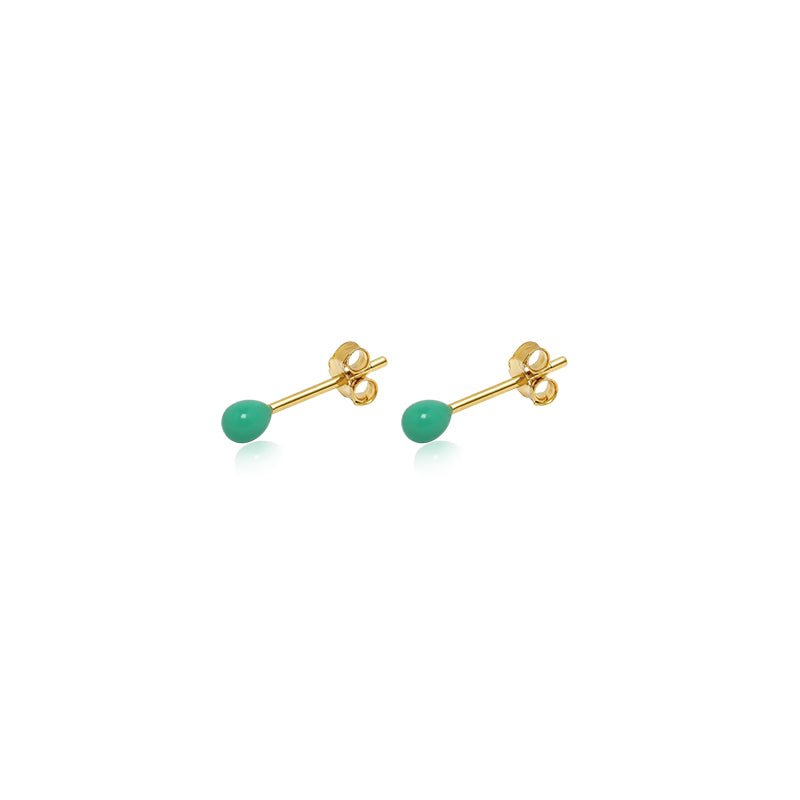
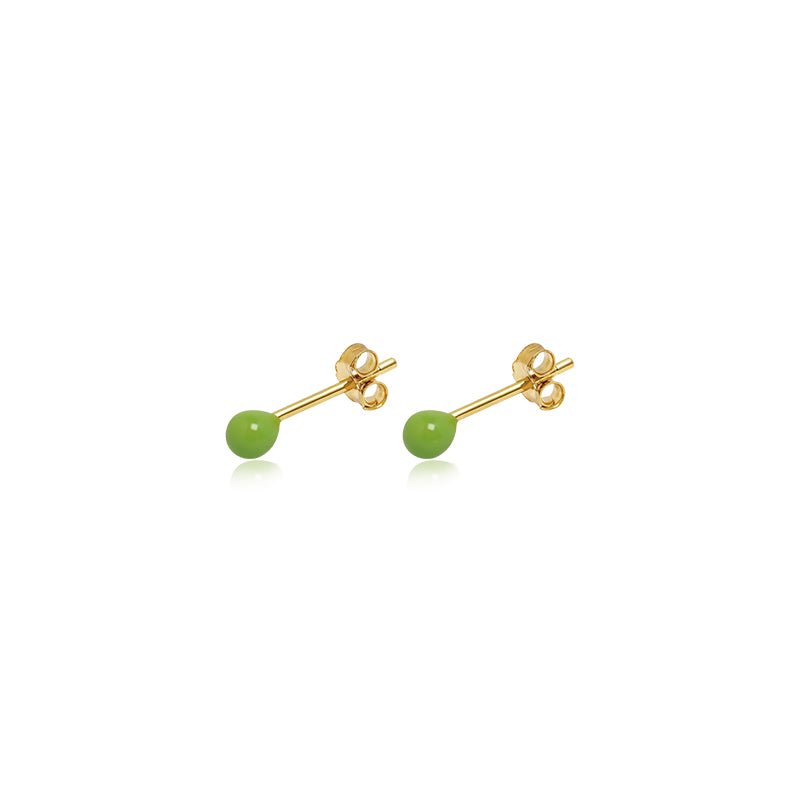
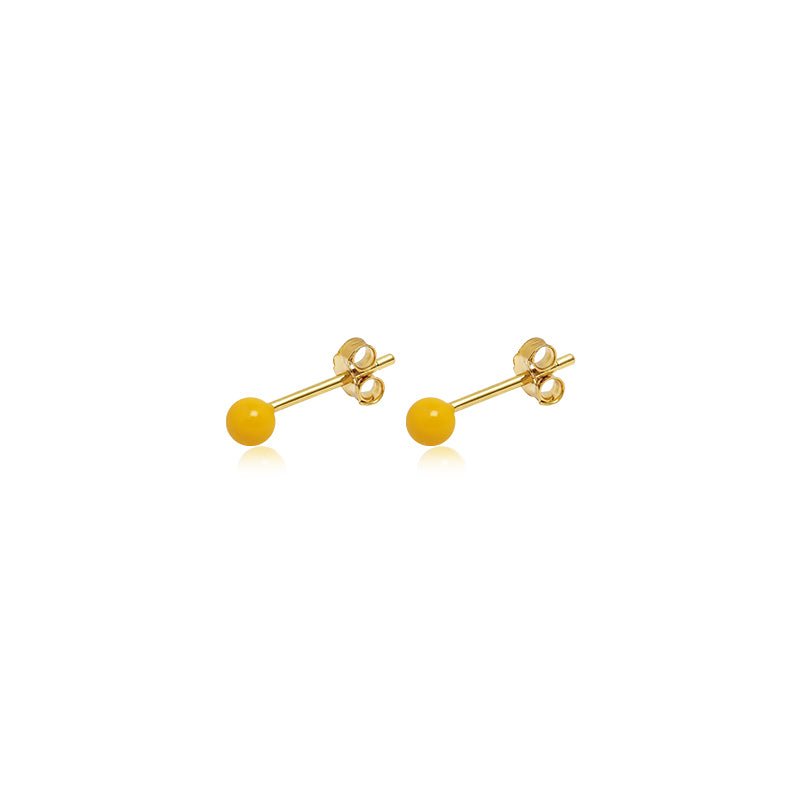
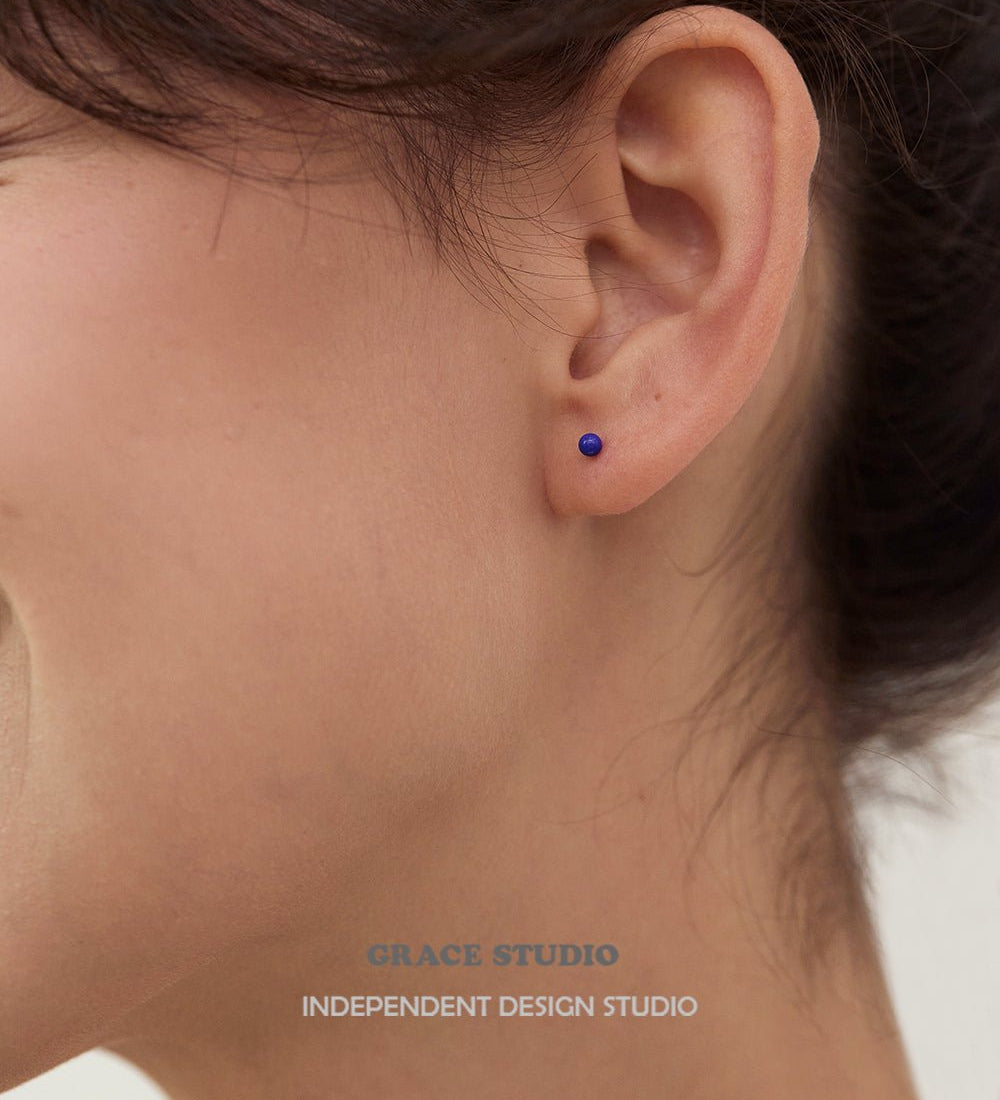
Step 6: How to Make Pearl Earring Studs
If you prefer a minimalist look, pearl stud earrings are a classic alternative to drops. This method is quick and requires no wire-working, making it ideal for beginners.
Choose smaller pearls (4-6mm) for studs, as they sit comfortably on the earlobe. Take a flat-back stud post and apply a small dot of jewelry glue to its flat surface. E6000 is a reliable choice, but any strong craft glue will work, test it first on a scrap pearl if you’re using a budget option. Press the pearl firmly onto the stud post, ensuring it’s centered. Hold it for 10-15 seconds to set the initial bond, then place it on a flat surface to dry completely, usually for 24 hours (check the glue’s instructions). Repeat for the second stud.
To ensure a strong bond, avoid touching the glue with your fingers, as oils can weaken it. If you’re impatient like I was during my first try, don’t wear the studs too soon, mine fell apart after a day! Once dry, check the pearls by gently wiggling them to confirm they’re secure. Studs are perfect for everyday wear and make great gifts because of their simplicity.
Step 7: Final Adjustments
Now that your earrings are assembled, it’s time to perfect them. Hold both earrings side by side to check for symmetry. For drop earrings, ensure the loops are the same size and the pearls hang at the same length. For string earrings, confirm the knots are even and the pearls align. For studs, check that the pearls are centered on the posts. If anything looks off, use your pliers to adjust loops or re-tie knots as needed.
Give your earrings a gentle polish with a soft cloth to remove fingerprints or smudges. If you used glue for studs, double-check that it’s fully dry before polishing. Test the earrings by wearing them briefly to ensure they’re comfortable and secure. If an ear wire feels loose, tighten its loop with chain-nose pliers. This final step ensures your earrings look professional and are ready to wear or gift.
Tips for Success

Crafting pearl earrings is a skill, and like any skill, it gets easier with practice. Here are some tips to help you succeed, especially if you’re new to jewelry making. First, invest in quality pearls if your budget allows. Higher-grade pearls have better luster and durability, making your earrings look more polished. If you’re on a tight budget, don’t stress, affordable freshwater pearls from craft stores still look lovely.
Practice your wire-wrapping technique before starting. Try making loops with scrap wire or paperclips to get the hang of using round-nose pliers. For string earrings, practice tying small, tight knots to ensure they hold under tension. A common mistake is over-bending wire, which can weaken it, or using too much glue on studs, which can create a messy look. Less is more with glue, a tiny dot is enough.
To care for your pearl earrings, store them in a soft pouch or jewelry box to prevent scratches. Avoid exposing them to perfume or hairspray, as these can dull the pearls’ shine. If your earrings get dirty, clean them gently with a damp cloth and mild soap. For string earrings, check the knots periodically to ensure they haven’t loosened.
Customization Ideas

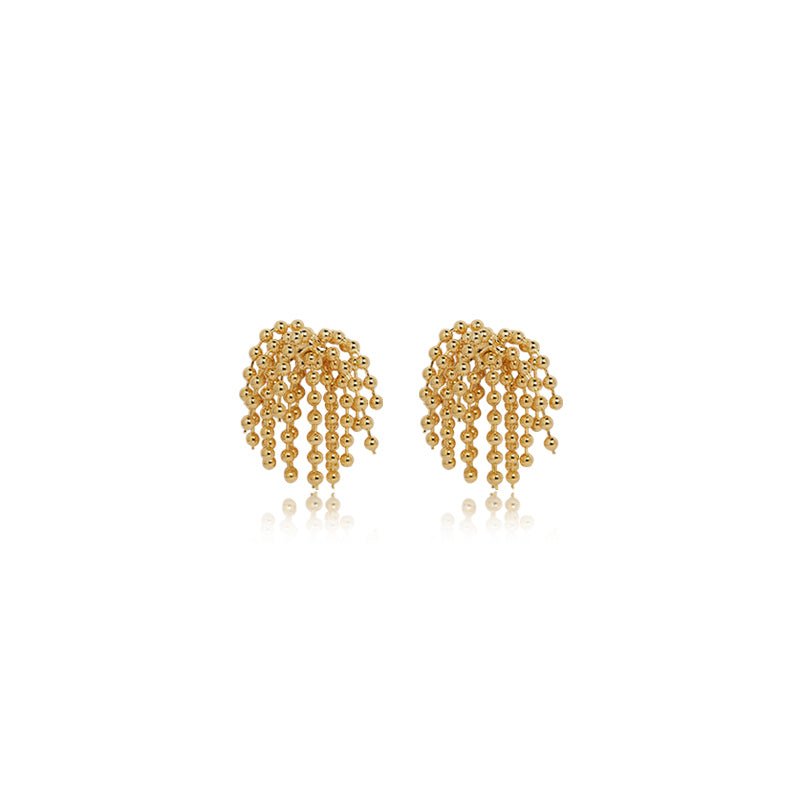
One of the joys of making your own earrings is the ability to customize them. Try mixing pearl types or colors for a unique look. For example, pairing a white pearl with a pink one on the same earring adds a playful contrast. For drop earrings, experiment with drop length by using longer headpins or adding multiple pearls. I once made a pair with two pearls per earring, and they became my go-to for fancy dinners.
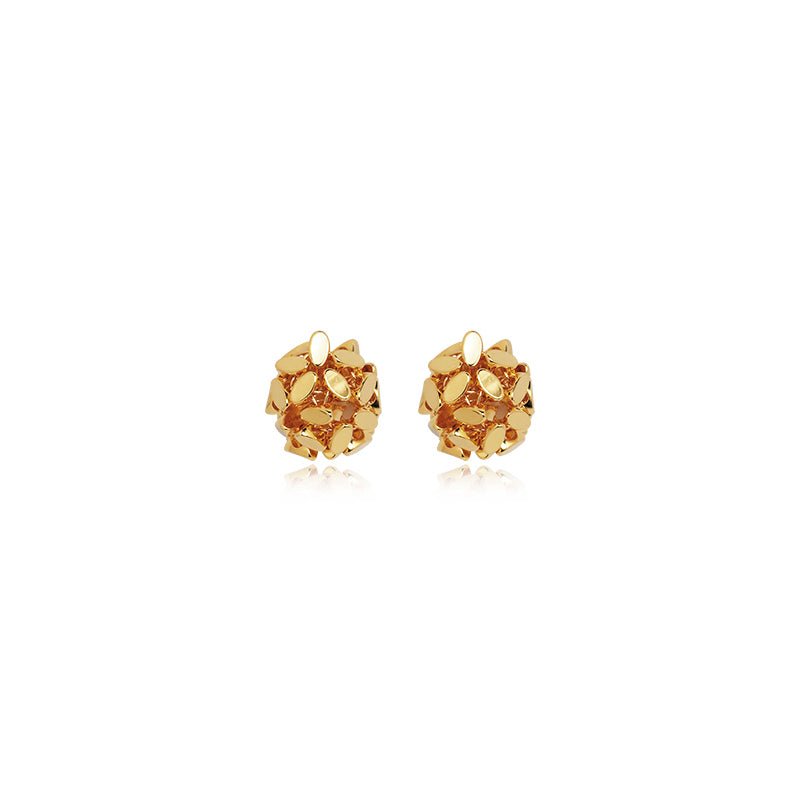
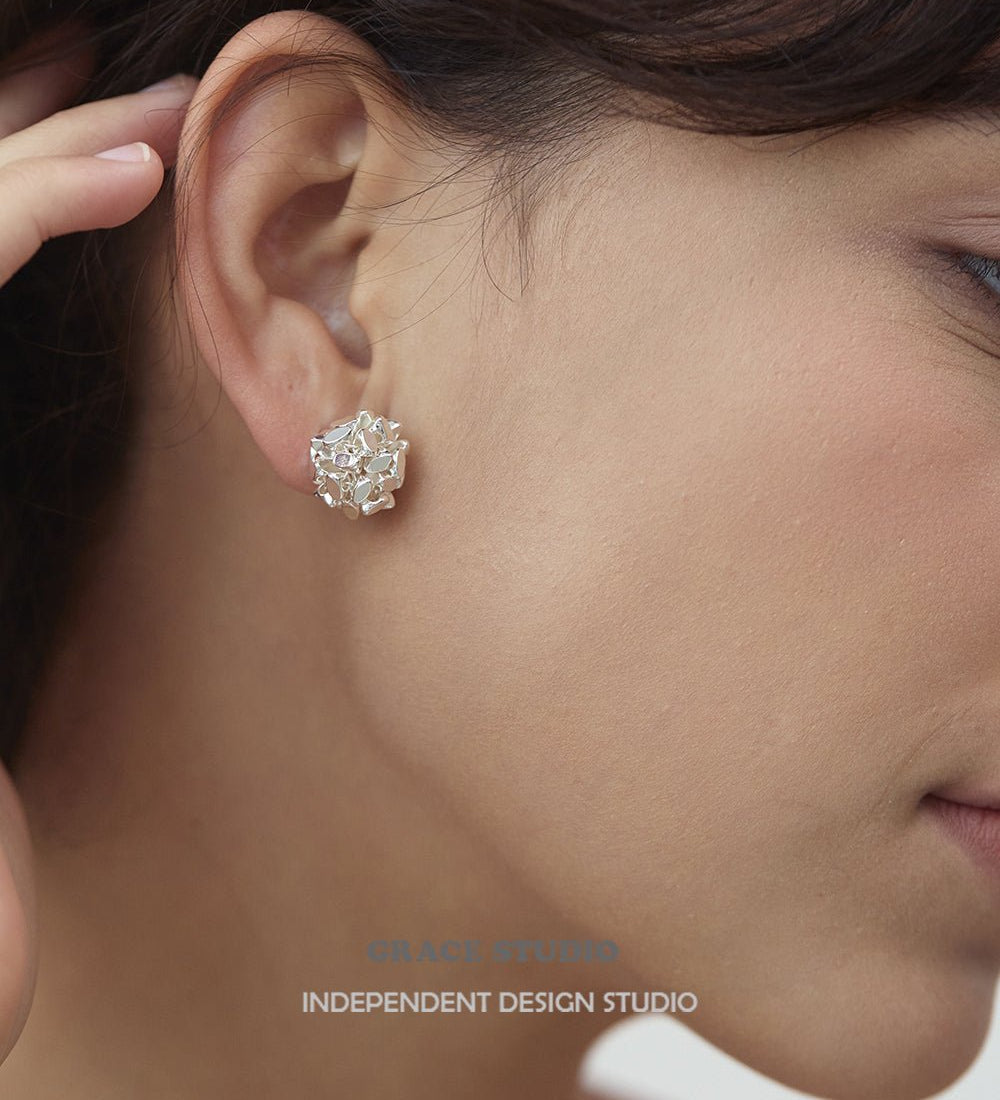
For bead-enhanced earrings, combine gemstone beads like amethyst or turquoise with pearls for a pop of color. Metal spacer beads in gold or rose gold add a modern touch. For string earrings, try braiding the string or adding multiple strands for a layered effect. If you’re making studs, consider clustering tiny pearls together on a single post for a bold statement.
Don’t be afraid to repurpose materials. Old necklaces, buttons, or even broken earrings can yield pearls or beads for your designs. This not only saves money but also adds a personal touch to your creations. If you’re feeling adventurous, combine techniques, like using string and beads together, for a hybrid design that’s uniquely yours.
Conclusion
Making pearl drop earrings, whether with wire, beads, string, or as studs, is a fun and accessible project for beginners. With just a few tools and materials, you can create jewelry that’s both beautiful and personal. This guide has walked you through every step, from choosing pearls to adding custom touches, ensuring you have the confidence to craft your own earrings. The process is forgiving, so don’t worry if your first pair isn’t perfect, each attempt hones your skills.
Now it’s your turn to get creative! Try out these techniques, experiment with colors and styles, and share your creations with friends or on social media. If you have questions or want to share your designs, drop a comment below, I’d love to see what you make. Happy crafting, and enjoy wearing your handmade pearl earrings!
Optional: Visual Aids
To make this process even easier, consider referencing photos or diagrams for each step. A quick online search for “pearl drop earring tutorial” will yield plenty of visual guides, or you can create your own by snapping pictures as you work. If you prefer video, YouTube has countless beginner-friendly tutorials that demonstrate wire-wrapping and knotting techniques. For a quick reference, an infographic summarizing the materials and steps for each earring style can be a handy tool to keep by your workspace.


Leave a comment