How to Make Costume Jewelry: A Beginner’s Guide
Welcome to the vibrant world of costume jewelry making! If you’ve ever admired a sparkling necklace or a pair of trendy earrings and thought, “I could make that,” you’re in the right place.
Costume jewelry, made from affordable, non-precious materials like beads, wires, and charms, is a fantastic way to express your creativity, accessorize on a budget, or even start a small business from home. This guide is designed for beginners, so don’t worry if you’ve never picked up a pair of pliers before. With a friendly, step-by-step approach, we’ll walk you through everything you need to know to create stunning pieces, troubleshoot common issues, and even explore turning your hobby into a profitable venture. Let’s dive in!
Understanding Costume Jewelry
Costume jewelry is all about fun, fashion, and affordability. Unlike fine jewelry, which uses precious metals and gemstones, costume jewelry relies on materials like glass beads, base metals, and acrylic charms to create eye-catching designs. It’s the go-to choice for statement pieces, everyday wear, or matching a specific outfit without breaking the bank. The best part? You can make it yourself, tailoring each piece to your style or even selling your creations to others.
Why Make Your Own Costume Jewelry?
Creating your own jewelry is a rewarding hobby. It’s budget-friendly, as you can source materials for a fraction of retail jewelry prices. It’s also a creative outlet, letting you experiment with colors, textures, and designs. Plus, handmade jewelry has a personal touch that store-bought pieces often lack. Imagine gifting a friend a necklace you designed or selling a collection at a local craft fair, there’s a special pride in saying, “I made that!”
What is the Easiest Jewelry to Start Making?
If you’re new to jewelry making, start with beaded necklaces, bracelets, or simple wire-loop earrings. These projects require minimal tools and techniques, making them perfect for building confidence. Beaded designs, in particular, are forgiving for beginners because they involve straightforward stringing and knotting, which we’ll cover in detail later. As you gain experience, you can explore more complex techniques like wire wrapping or chainmaille.
Materials and Tools Needed

Before you start crafting, you’ll need to gather some basic supplies. The good news is that costume jewelry materials are widely available and affordable, and you can often find alternatives around the house to keep costs low.
Essential Materials
To create most costume jewelry, you’ll need a few core supplies. Beads are the heart of many designs, and they come in endless varieties, glass, plastic, wood, or even repurposed buttons from old clothes. Beading wire or elastic cord is essential for stringing beads, while chains and jump rings are great for necklaces and charms. Clasps (like lobster claws or toggles) secure your pieces, and crimp beads lock everything in place. Charms or pendants add personality, and you can find these at craft stores or online marketplaces like Etsy or Amazon.
For budget-conscious crafters, check out thrift stores for old necklaces you can dismantle for parts. Broken jewelry or mismatched earrings can be a goldmine for beads and findings (the small metal components like clasps and connectors). If you’re on a tight budget, consider using household items like colorful buttons, yarn, or even painted pasta for quirky, kid-friendly designs.
Must-Have Tools
Your toolkit doesn’t need to be fancy, but a few essentials will make your work easier. Round-nose pliers are perfect for creating loops in wire, while flat-nose pliers help with crimping and holding pieces steady. Wire cutters are crucial for trimming beading wire or chains to size. A bead board, which has grooves and measurements, helps you plan your designs before stringing, but a folded towel can work in a pinch to keep beads from rolling away. Scissors and a measuring tape round out the basics.
Sourcing Materials on a Budget
Craft stores like Michaels or Joann carry a wide range of supplies, but online retailers often have better deals for bulk purchases. Websites like Fire Mountain Gems or Beadaholique offer affordable beads and findings. For a thrifty approach, check out dollar stores for inexpensive beads or repurpose old jewelry. If you’re planning to sell your creations, buying in bulk can significantly cut costs, but start small to avoid overstocking.
How to Make Cheap Jewelry Not Turn Skin Green?
One common issue with costume jewelry is skin discoloration from base metals. To prevent this, opt for nickel-free or hypoallergenic materials like stainless steel, brass, or coated wires. A household hack is to apply a thin layer of clear nail polish to metal parts like clasps or chains to create a barrier against moisture and skin oils. For sensitive skin, consider using surgical steel findings, which are less likely to cause reactions. After wearing or storing your jewelry, keep it in a dry, airtight container with a silica gel packet (like those found in shoeboxes) to prevent tarnishing.
Basic Techniques for Beginners

Now that you have your materials, let’s explore the core techniques you’ll use to create costume jewelry. These are simple enough for beginners but versatile enough to produce professional-looking results.
Stringing Beads
Stringing is the easiest way to make beaded jewelry. It involves threading beads onto a flexible material like beading wire or elastic cord. Beading wire is durable and works well for necklaces and bracelets with clasps, while elastic cord is ideal for stretchy bracelets that slip on and off easily.
How to Make Costume Jewelry with Beads
Beads are the star of many costume jewelry designs because they’re versatile and easy to work with. Here’s how to get started with a simple beaded project:
-
Choose Your Beads: Pick beads that suit your style, glass for sparkle, wood for a natural look, or acrylic for bold colors. For beginners, 6mm to 8mm beads are easy to handle. Mix sizes or colors for visual interest, like alternating large and small beads.
-
Select Your Stringing Material: Use beading wire for necklaces or bracelets with clasps, as it’s strong and flexible. Elastic cord (0.5mm to 1mm thick) is great for stretchy bracelets. For a budget option, try fishing line or strong thread from your sewing kit.
-
Plan Your Design: Lay out your beads on a bead board or a towel to test the pattern. For example, try a repeating sequence like blue-glass-blue or a gradient from light to dark beads.
-
String the Beads: Cut a length of beading wire (add 4–6 inches extra for securing ends). Thread the beads in your chosen order, using a bead stopper (or a piece of tape) at one end to keep them from sliding off.
-
Secure the Ends: For beading wire, slide a crimp bead onto the end, thread the wire through a clasp, then back through the crimp bead. Use flat-nose pliers to flatten the crimp bead, locking the clasp in place. Trim excess wire. For elastic cord, tie a double knot and dab with clear nail polish for security.
-
Test the Fit: Try on the piece to ensure it’s comfortable. For necklaces, 16–18 inches is standard; for bracelets, 7–8 inches works for most wrists.
Wire Wrapping Basics
Wire wrapping is another beginner-friendly technique, perfect for earrings or pendants. It involves shaping wire into loops or spirals to hold beads or charms. Use 20–24 gauge wire for most projects, thicker for sturdier pieces, thinner for delicate designs. To make a simple wire loop:
-
Cut the Wire: Snip a 3-inch piece of wire with wire cutters.
-
Create a Loop: Use round-nose pliers to grip the wire about 1 inch from the end. Twist your wrist to form a small loop, leaving a tail.
-
Add a Bead: Slide a bead onto the wire, pushing it against the loop.
-
Close the Loop: Make another loop on the other side of the bead, then trim excess wire. Attach to an earring hook or chain using a jump ring.
Safety Tips
Always wear safety glasses when cutting wire to protect your eyes from flying bits. Keep tools and small components away from children and pets. If you’re using glue or nail polish, work in a well-ventilated area to avoid fumes.
Step-by-Step Project: Beaded Statement Necklace

Let’s put these techniques into action with a beginner-friendly project: a beaded statement necklace. This bold, colorful piece is perfect for everyday wear or selling at a craft fair, and it’s customizable to suit any style.
Materials Needed
-
20 inches of beading wire (0.015-inch diameter)
-
30–40 assorted beads (8mm glass beads, 6mm acrylic beads, and a few 10mm focal beads)
-
2 crimp beads
-
1 lobster clasp
-
2 jump rings
-
Round-nose pliers, flat-nose pliers, and wire cutters
-
Bead board or towel
Step-by-Step Instructions
-
Plan Your Design: Arrange your beads on a bead board or towel. For a statement necklace, try a symmetrical pattern: start with smaller beads at the ends, build to larger focal beads in the center, and mirror the pattern on the other side. For example, use 6mm beads at the ends, 8mm beads in the middle sections, and a 10mm focal bead at the center.
-
Cut the Beading Wire: Measure and cut 20 inches of beading wire. This gives you enough length for an 18-inch necklace plus extra for securing the clasp.
-
Secure One End: Slide a crimp bead onto the wire, then thread the wire through a jump ring and back through the crimp bead, forming a small loop. Use flat-nose pliers to flatten the crimp bead, securing the jump ring. Trim excess wire close to the crimp.
-
String the Beads: Thread your beads in the planned order, ensuring they sit snugly against the crimp bead. If beads have large holes, add smaller spacer beads to prevent wobbling.
-
Attach the Clasp: When all beads are strung, slide on another crimp bead, then thread the wire through the lobster clasp and back through the crimp bead. Pull the wire tight to remove slack, then flatten the crimp bead with pliers. Trim excess wire.
-
Add a Jump Ring: Open a jump ring using two pairs of pliers (twist, don’t pull apart). Attach it to the first jump ring to complete the clasp system, then close it securely.
-
Test the Necklace: Try on the necklace to check its length and comfort. Adjust by adding or removing beads if needed. Ensure the clasp is secure and the beads don’t slide.
Customization Tips
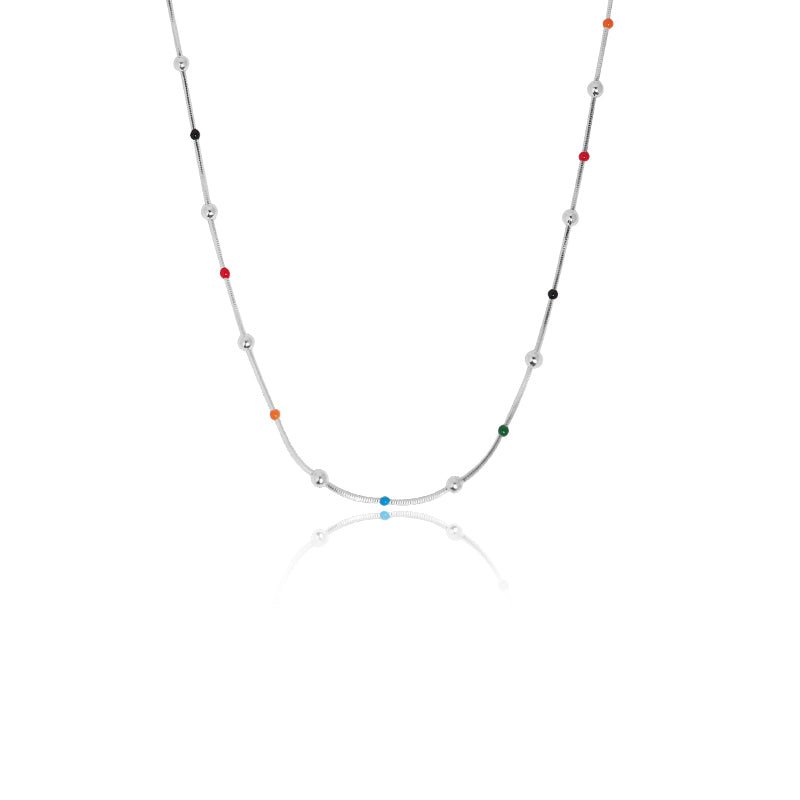
Make the necklace your own by experimenting with colors or textures. For a boho look, mix wood and turquoise beads. For a glamorous vibe, use crystal beads that catch the light. Add a charm or pendant to the center for extra flair. If you’re making this to sell, consider creating matching earrings to offer as a set.
How to Make Artificial Jewellery Shine Again
To keep your necklace sparkling, clean it gently after each wear. Dip a soft cloth in a mix of warm water and a drop of mild dish soap, then wipe the beads and metal parts. For stubborn tarnish on metal findings, soak them in white vinegar for 5 minutes, then rinse and dry thoroughly. To restore shine, polish with a jewelry cleaning cloth (available at craft stores for a few dollars). Store the necklace in a ziplock bag with a silica gel packet to prevent tarnishing, especially if you used base metals.
Design Tips and Inspiration

Creating beautiful costume jewelry is all about finding your unique style. Here are some practical tips to make your designs stand out, whether you’re crafting for yourself or to sell.
Choosing Color Schemes
Colors set the mood of your jewelry. For a cohesive look, stick to 2–3 colors per piece. Use a color wheel to find complementary shades (opposite on the wheel, like blue and orange) or analogous shades (next to each other, like blue and green). Seasonal trends can guide you, think warm oranges and browns for fall or pastels for spring. If you’re making jewelry to sell, neutral colors like black, white, or gold appeal to a wide audience.
Personalizing Your Designs
Personalized jewelry feels special and sells well. Add a birthstone bead (like amethyst for February or garnet for January) or a charm with an initial. For a thoughtful gift, incorporate beads that match a recipient’s favorite color or hobby (e.g., music note charms for a musician). If you’re on a budget, paint wooden beads with acrylic paint to mimic expensive gemstones.
Finding Inspiration
Look around you for ideas! Browse Pinterest for trendy designs or flip through fashion magazines to spot popular styles. Nature is a great muse, think leaf-shaped charms for a forest-inspired necklace or blue beads for an ocean vibe. If you’re selling, follow influencers on Instagram to see what’s trending, like minimalist chains or chunky statement pieces.
How to Make Costume Jewelry to Sell
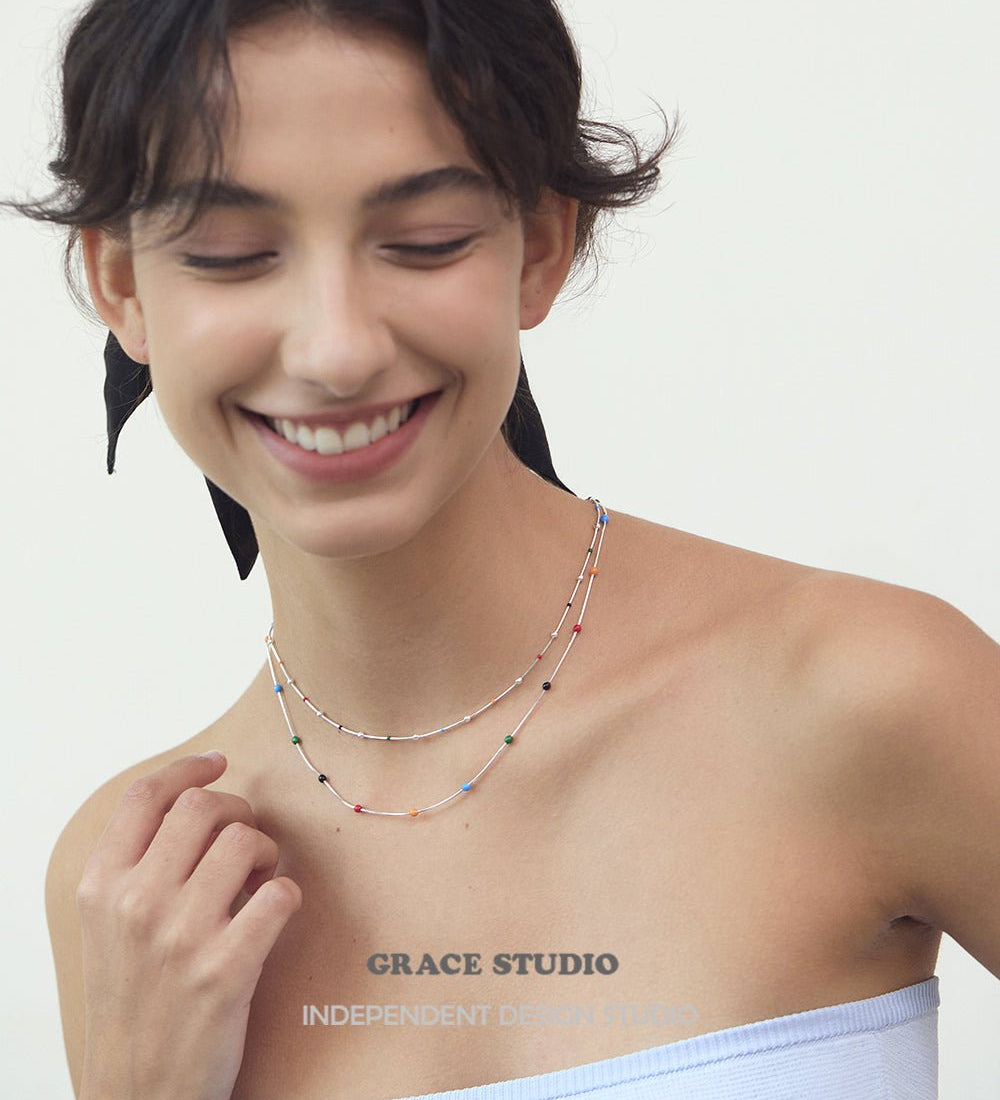
If you’re thinking about selling your jewelry, focus on designs that are both trendy and timeless. Simple beaded bracelets or layered necklaces are popular because they’re versatile and affordable to produce. Keep material costs low by buying beads in bulk or repurposing old jewelry. Create collections, like a set of boho bracelets or elegant pearl earrings, to encourage multiple purchases. Test your designs on social media, post photos on Instagram with hashtags like #HandmadeJewelry to gauge interest. Pricing is key: calculate material costs, add a small amount for your time, and aim for a 50–100% markup to stay competitive.
Troubleshooting Common Issues
Mistakes happen, especially when you’re learning. Here’s how to fix common problems and keep your jewelry looking professional.
Loose Knots or Clasps
If your elastic cord bracelet keeps coming undone, tie a double or triple knot and secure with a dab of clear nail polish or super glue. For beading wire, ensure crimp beads are flattened tightly with flat-nose pliers. Test the clasp by gently tugging the piece before wearing or selling it.
Uneven Bead Spacing
If beads slide around, use spacer beads or crimp beads to lock them in place. A bead board helps you measure spacing before stringing. If you don’t have one, mark measurements on a piece of paper to guide you.
Tarnished or Dull Jewelry
To prevent tarnishing, store jewelry in airtight containers away from moisture. If a piece loses its shine, follow the cleaning tips from the project section. Avoid harsh chemicals like bleach, which can damage beads or weaken wires.
Turning Your Hobby into a Business
Once you’ve mastered the basics, you might wonder if you can turn your passion into profit. Costume jewelry is a great side hustle, as it’s low-cost to start and has a growing market for unique, handmade pieces.
How to Start a Costume Jewelry Business from Home
Starting a home-based jewelry business is easier than you think. First, set up a dedicated workspace, a small table with good lighting and storage bins for beads and tools works well. Next, create a brand identity: choose a catchy name (like “BeadBloom Designs”) and design a simple logo using free tools like Canva. Build an online presence by setting up an Etsy shop or Instagram page to showcase your work. High-quality photos are crucial, use natural light and a plain background to make your jewelry pop.
Start small by selling at local craft fairs or to friends and family. Invest in simple packaging, like cardstock earring cards or small pouches, to make your products look professional. Research local regulations, such as registering your business or collecting sales tax, to stay compliant. Keep track of expenses (materials, shipping, etc.) using a spreadsheet to ensure profitability.
Is Making Costume Jewelry Profitable?
Yes, costume jewelry can be profitable due to low material costs and high demand for unique designs. A single bracelet might cost $2–5 to make but sell for $10–20, depending on the market. Success depends on smart pricing, quality craftsmanship, and effective marketing. For example, selling online through Etsy or at local markets can yield steady sales if you target the right audience, like fashion-forward shoppers or gift buyers.
What is the Profit Margin on Artificial Jewelry Business?
Profit margins for costume jewelry typically range from 50% to 300%, depending on materials and complexity. Simple beaded designs using inexpensive acrylic beads might have a 50–100% margin (e.g., $3 materials sold for $6–9). More intricate pieces with higher-quality materials, like glass beads or sterling silver findings, can fetch 200–300% margins (e.g., $10 materials sold for $30–40). To maximize profits, keep material costs low, streamline your process, and test price points to find what your market will bear.
Scaling Up Your Skills
As you grow more confident, try intermediate techniques to elevate your designs. Wire wrapping can create intricate pendants, while resin casting lets you embed charms or glitter in clear resin for a modern look. Chainmaille, which involves linking metal rings in patterns, is another way to add sophistication. Explore free YouTube tutorials or online courses on platforms like Skillshare to learn these skills. Joining local craft groups or online communities (like Reddit’s r/JewelryMaking) can provide inspiration and feedback. If you’re selling, consider offering custom orders to attract repeat customers.
Conclusion
Making costume jewelry is a delightful mix of creativity, skill, and practicality. Whether you’re crafting a beaded necklace for yourself, gifting a pair of earrings to a friend, or starting a small business from home, this hobby offers endless possibilities. With affordable materials, simple techniques, and a bit of practice, you can create pieces that rival store-bought jewelry.
Start with the beaded necklace project we outlined, experiment with colors and styles, and don’t be afraid to make mistakes, they’re part of the learning process. If you’re dreaming of selling your creations, take it one step at a time: build your skills, test your designs, and share your work with the world. We’d love to see what you create, share your pieces on social media with #DIYCrafts or drop a comment with your questions. Happy crafting!

