How to Make Stud Earrings at Home: A Beginner-Friendly DIY Guide for Every Style
Thinking about making your own earrings? You don’t need a full jewelry studio, a soldering iron, or any prior experience to get started. With just a few affordable supplies and a little time, you can create beautiful, stylish DIY stud earrings from the comfort of your kitchen table.
Stud earrings are the easiest type of earrings to wear, and also the easiest to make. They’re lightweight, versatile, and completely customizable. Want something sparkly? Go for crystals or gems. Prefer something artsy? Try handmade clay. Into the minimalist vibe? A simple metal charm or shaped wire will do the trick.
✅ Yes, you can make your own stud earrings.
And yes, they’ll look legit. Whether you're making them for yourself, for gifts, or to start your own mini jewelry side hustle, this guide will walk you through every step.
What You’ll Learn:
-
What supplies you need (and what you can skip)
-
How to attach studs to your decorative pieces
-
Four fun styles to try: gemstones, beads, charms, and wire
-
Tips to avoid common beginner mistakes
-
What tools to use for clean, professional-looking results
Let’s get started.
What Supplies Do You Need to Make Stud Earrings?
Before you can make anything, you’ll need to gather your tools and materials. The good news is that basic earring-making kits are inexpensive and easy to find online or at local craft stores.
You can also piece your kit together yourself if you want to try different looks or materials.
🧰 Basic Earring-Making Kit for Beginners
Here’s what you’ll need to get started:
🔹 Flat Pad Earring Posts
These are the “stud” part of your stud earrings. They’re metal posts with a flat circular pad on the end, ready to glue your design onto. These are sometimes called stud earring flat backs.
✅ Look for stainless steel, hypoallergenic, or surgical-grade options if you have sensitive ears.
🔹 Earring Backs
You’ll need something to hold the post in place in your ear. Most kits come with butterfly backs (metal) or rubber stoppers. Both work fine.
🔹 Jewelry Glue or Resin
Your decorative piece needs to stay put, and glue is the key.
-
E6000: A favorite among DIYers. Dries strong, flexible, and clear.
-
UV Resin: Cures with a UV lamp and dries super fast. Best for resin-based or shiny designs.
Tip: Always glue in a ventilated area, especially when using strong adhesives.
🔹 Tweezers or Toothpicks
For holding small items and applying glue cleanly. A toothpick is perfect for applying tiny dots of glue without making a mess.
🔹 Decorative Toppers
This is where your creativity comes in. You can use:
-
Flat-back cabochons
-
Small charms
-
Pressed beads
-
Mini sculpted clay pieces
-
Bits of fabric, leather, or resin designs
🔧 Optional Tools for Finer Details
If you want to upgrade your tools later:
-
Jewelry pliers: Handy if you're doing any wire bending.
-
Sandpaper or nail file: Smooth rough backs of materials like clay or resin.
-
UV lamp: Needed if you're using UV resin. A mini one is fine!
📦 What’s in a “Make Your Own Stud Earrings Kit”?
You can also buy premade kits that include:
-
Posts and backs (10–20 pairs)
-
Glue or resin
-
A variety of toppers (cabochons, beads, resin shapes)
-
Basic tools like tweezers or toothpicks
Ideal for: Beginners who want to try everything at once or people making earrings with kids or friends.
How to Make Homemade Earrings for Beginners
Now that you have your supplies, it’s time to make your first pair. Follow this five-step process for clean, secure, and comfortable DIY studs.
Step 1: Gather and Prep Your Materials
Lay out your tools on a flat surface. Clean each part you’ll be gluing:
-
Wipe the flat back of the post with rubbing alcohol.
-
Do the same for your decorative piece (bead, gem, charm, etc.).
This removes oils or dust and helps the glue bond properly.
Step 2: Apply Adhesive
Use a toothpick to place a tiny dot of glue on the flat pad of the earring post.
-
Don’t overdo it, too much glue can cause your topper to slide or dry unevenly.
-
If you’re using UV resin, add a drop, but don’t cure it yet.
Step 3: Attach Your Topper
Gently press your bead, gemstone, or charm onto the glued pad.
-
Hold it in place for 10–20 seconds if using E6000.
-
For lightweight pieces, this may be enough to set it. Heavier items may need support while curing.
Tip: Set it topper-side-up on a flat tray lined with parchment or wax paper while it dries.
Step 4: Cure or Dry
-
E6000: Let sit for at least 24 hours in a dry, ventilated area.
-
UV Resin: Place under a UV lamp for 1–2 minutes. Done!
Make sure everything is fully dry before handling or wearing.
Step 5: Add the Earring Backs
Once cured, slide a butterfly back or rubber stopper onto the post.
Your earrings are ready to wear or gift!
Style Variations: Creative Ways to Make Stud Earrings
Here’s where things get fun. There are tons of ways to personalize your earrings, whether you love bold bling or minimalist design. Let’s explore four creative directions you can take.
💎 How to Make Stud Earrings with Gemstones
Gemstone studs are classic, and you don’t need real diamonds to make them sparkle.
What to Use:
-
Flat-back cabochons (available in faux opal, druzy, turquoise, etc.)
-
Raw crystal chips like amethyst or quartz
How to Do It:
-
Choose small, flat pieces (no bigger than 10–12mm for comfort).
-
Glue to a metal post using E6000 or UV resin.
-
Let cure and add a sturdy back.
Pro tip: You can even use birthstones or zodiac stones for personalized gifts.
🧷 How to Make Stud Earrings with Charms
Tiny metal charms make for quirky, fun stud earrings, especially themed ones like stars, moons, or tiny animals.
What to Use:
-
Small, flat-backed charms (lightweight is key)
-
Wire cutters (to remove loops or hooks)
How to Do It:
-
Clip off any jump rings or loops so the back is flat.
-
File the back if needed to smooth.
-
Glue onto your flat post and let cure.
Creative twist: Use matching pairs, or try mismatched themes (e.g., sun + moon, cat + paw).
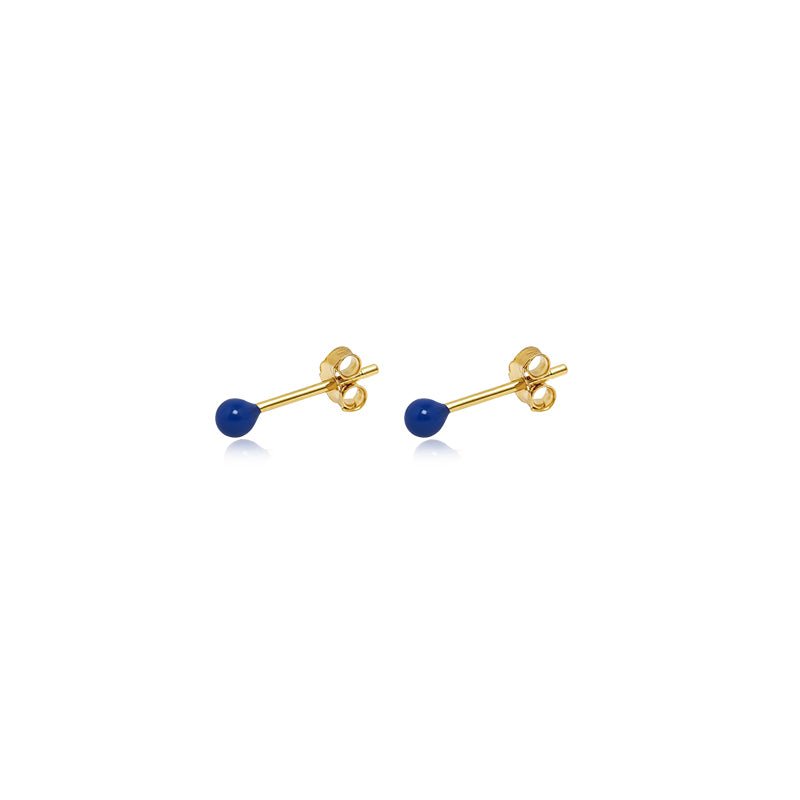
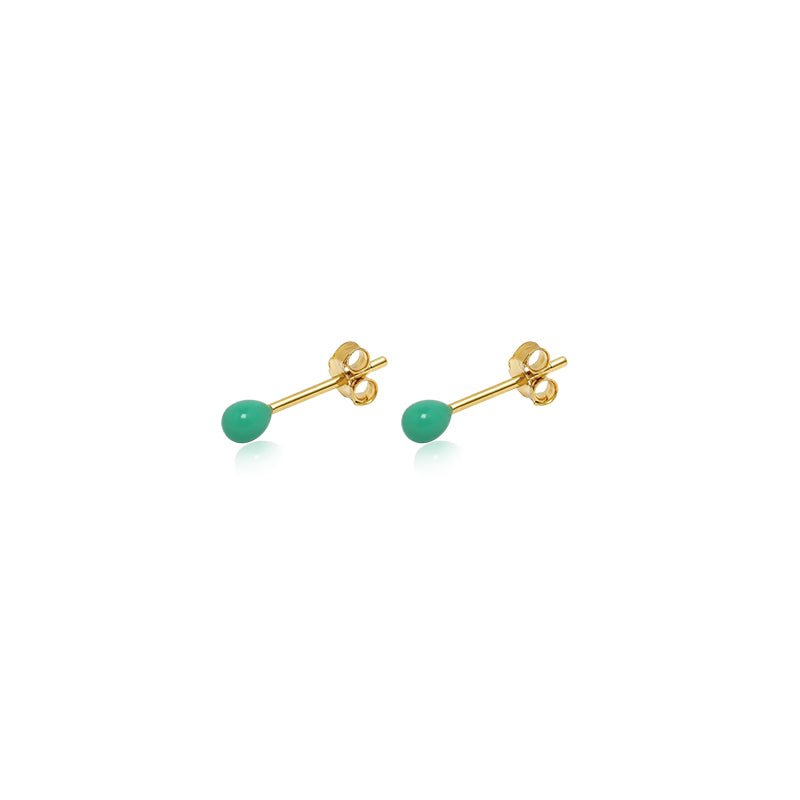
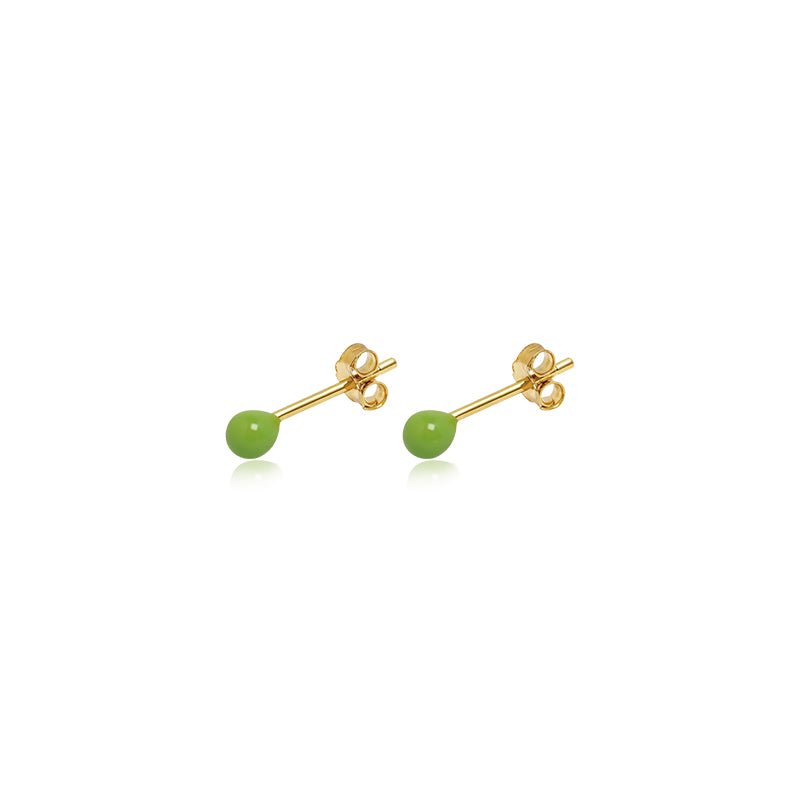
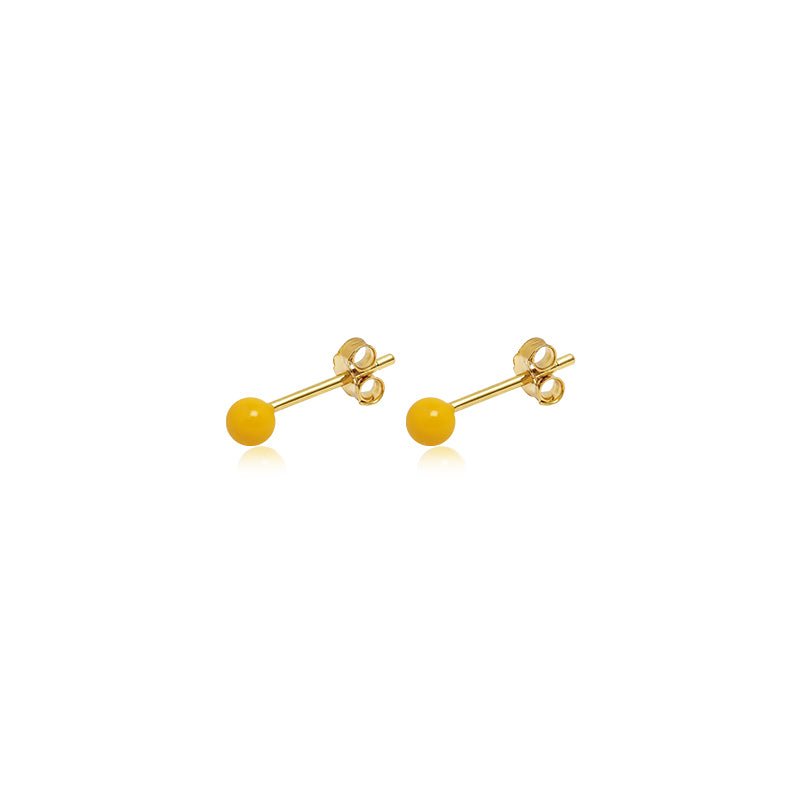
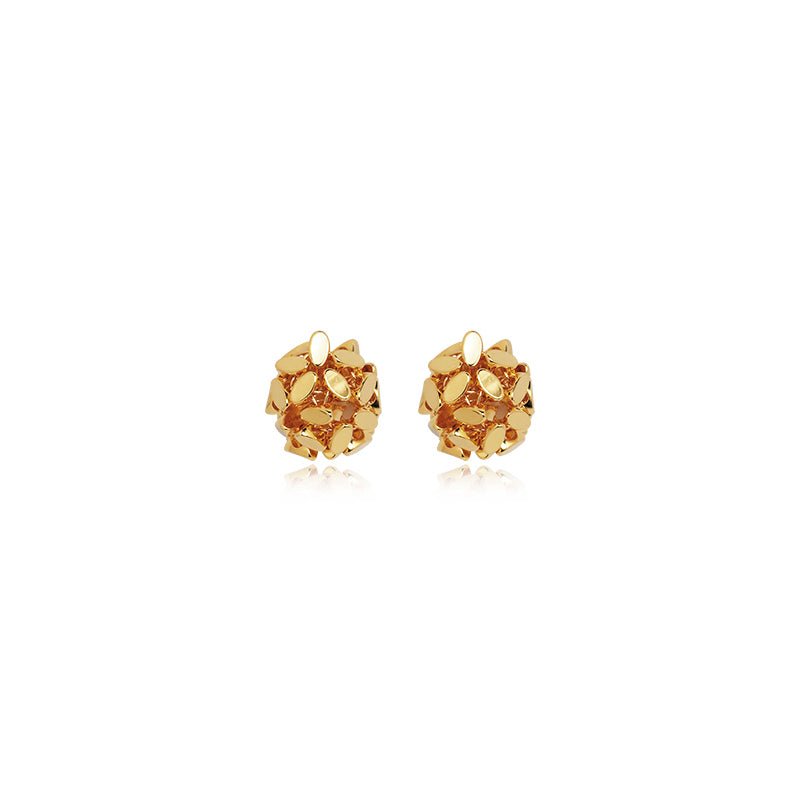
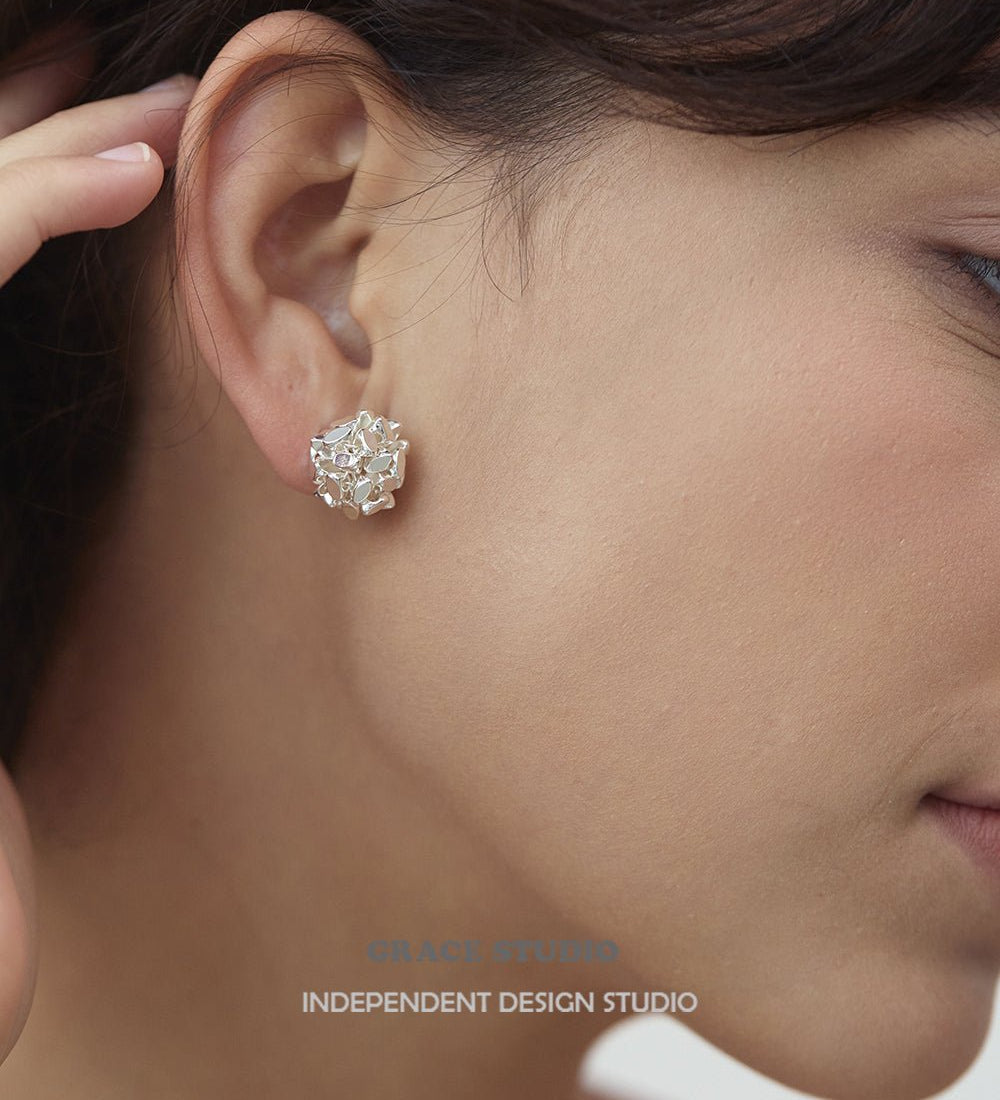
🔮 How to Make Stud Earrings with Beads
Beads give you endless colors and textures, from glass and wood to pearl and crystal.
What to Use:
-
Round or faceted beads
-
Bead caps (optional, to help stabilize the base)
How to Do It:
-
Choose a bead with one flat-ish side.
-
Glue the flat side directly to the post OR glue it onto a bead cap first.
-
Hold with tweezers while the glue sets to prevent rolling.
Pro tip: Make sure your bead isn’t too heavy. Lighter = better.
🧵 How to Make Stud Earrings with Wire
If you want something modern and minimalist, wire studs are a great option.
What to Use:
-
20 to 22 gauge wire (this is also what gauge most stud earrings use)
-
Pliers for shaping
-
Glue or solder to attach to post (or bend the wire itself into a post)
How to Do It:
-
Cut 2–3 inches of wire and bend into your desired shape (spiral, triangle, heart, etc.).
-
Smooth any sharp edges with a file.
-
Either glue to a flat pad OR bend the end into a post shape.
Best Wires to Use:
-
Stainless steel
-
Sterling silver
-
Gold-filled (more durable than plated)
These are the best wires for making earrings because they’re durable, skin-safe, and hold their shape well.
Add-On: DIY Studs for Clothing (Bonus Project for Jewelry Lovers)
Looking to branch out from ear jewelry? If you love the bold, punk look or just want to add some edge to your wardrobe, DIY clothing studs are a fun crossover project, and super easy to start.
While clothing studs aren't the same as stud earrings, many of the same tools and techniques apply. They’re great for customizing:
-
Denim jackets
-
Canvas bags
-
Leather belts
-
Jean pockets
-
Hats, collars, or even boots
🧷 What You'll Need
-
Clothing studs: These typically come in two styles, screw-back and prong-back.
-
Awl or fabric hole punch: To make a clean hole in thicker materials like leather or denim.
-
Small screwdriver or pliers: For tightening or bending metal backs.
-
Sturdy fabric: Works best on denim, leather, canvas, or thick cotton.
✂️ How to Apply Studs to Clothing
Step 1: Plan your design
Mark where you want the studs to go using chalk or tailor’s pencil. Keep your spacing consistent, especially if you’re doing rows.
Step 2: Punch or poke a small hole
Use an awl or hole punch to create a hole just big enough for the stud’s screw or prongs.
Step 3: Insert the stud
-
Screw-back: Push the screw through the hole from the inside, then attach the stud cap and twist to secure.
-
Prong-back: Push the prongs through the fabric, fold the ends inward with pliers.
Step 4: Secure everything
Give the stud a gentle tug to make sure it’s tight. Repeat for your full design.
💡 Style Ideas
-
Add pyramid studs along the collar of a denim jacket.
-
Use silver stars on a black canvas tote.
-
Line the edge of a belt with alternating gold and gunmetal spikes.
Tip: Start small. A single row of studs on a cuff or pocket can make a bold statement without overdoing it.
Earring Fit & Comfort Tips
Once you’ve made your earrings, you want them to feel good and stay put. Fit and comfort are just as important as appearance, especially if you plan to wear your studs (or hoops) regularly.
📏 What Gauge Are Most Stud Earrings?
Earring post thickness is measured in gauge (g), and most standard stud earrings fall in the 20 gauge range (about 0.8 mm). That’s the typical size for pierced ears.
Quick breakdown:
-
22g (0.6 mm) – Slightly thinner than average
-
20g (0.8 mm) – Standard for most earring posts
-
18g (1.0 mm) – Slightly thicker, common in higher-end or heavy-duty earrings
If you're making your own posts from wire (see wire-stud tutorial), 20g or 22g is ideal for comfort and compatibility with most ears.
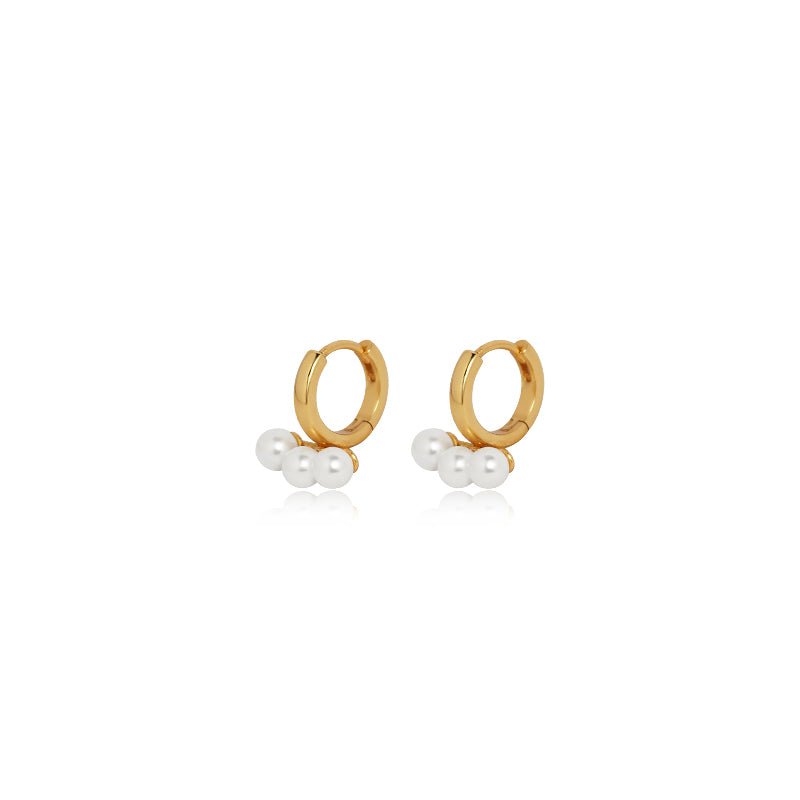
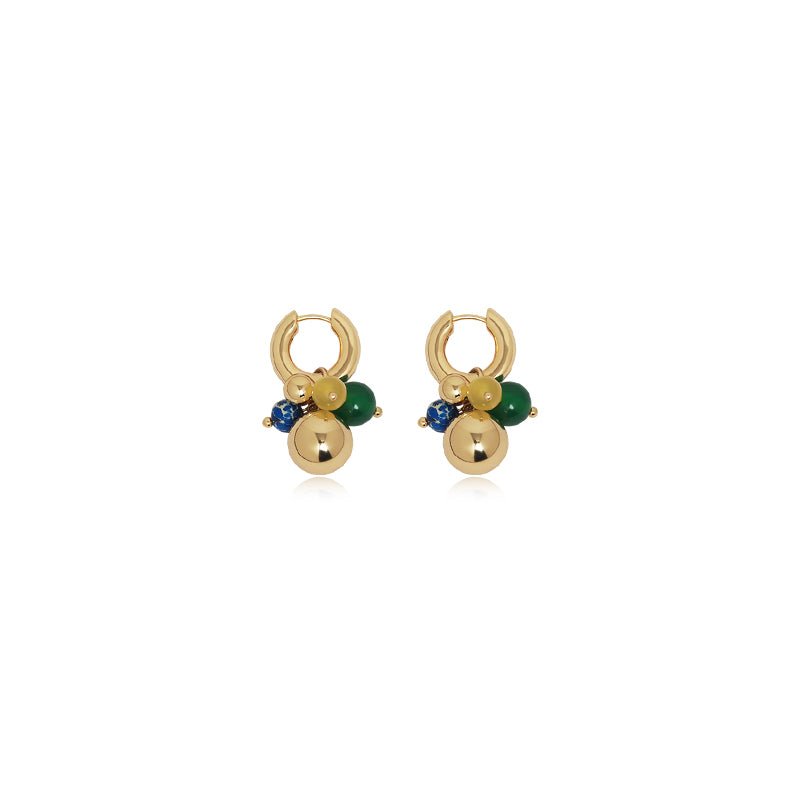
🎯 How Heavy Should Hoop Earrings Be?
Weight affects comfort more than you might expect. Too heavy = droop or damage over time.
General guidelines:
-
Under 7–10 grams per earring = Comfortable for most daily wear
-
10–15 grams = Moderate, may need support backs
-
Over 15 grams = Heavy, can stretch piercings or cause pain
Tip: Use a kitchen scale to check if you’re unsure. Lighter hoops made from aluminum, acrylic, or hollow metal are better for long-term wear.
❗ Do Hoop Earrings Stretch Your Ears?
They can, if they’re too heavy or worn for long periods. Damage happens slowly over time, especially with oversized or unbalanced designs.
How to prevent it:
-
Alternate with studs or ear cuffs.
-
Use lightweight materials (e.g., resin hoops, wire hoops).
-
Take earrings off before bed or long physical activity.
💡 How to Make Heavy Earrings Not Droop
If you love bold, chunky earrings (studs or hoops), you can still wear them, you just need support.
Try these solutions:
-
Large silicone earring backs: Spread the weight and reduce the pull on your lobe.
-
Flat disc backs: Same idea, distribute the pressure more evenly.
-
Stick-on lobe support patches: Transparent patches that help keep the earring in place and reduce stretching.
Also, avoid overly long or dangling earrings if your piercing is already stretched or sore.
Tips for Success (and Avoiding Common Mistakes)
Now that you’re creating your own jewelry, here are the small but important things that separate a messy first attempt from a clean, polished final product.
✔ Clean Every Surface Before Gluing
Any oil, dust, or residue can weaken the bond between your post and your topper.
Do this:
-
Wipe both the earring post and the base of your topper with rubbing alcohol before applying glue.
-
Use a cotton swab or clean cloth.
✔ Don’t Overload the Glue
You might think more glue = stronger hold. But too much glue actually causes:
-
Slipping
-
Uneven drying
-
Messy edges
Just a small dab in the center of the post pad is enough.
✔ Test the Weight Balance
Before the glue sets, lightly tap the topper to make sure:
-
It's centered
-
It sits flat
-
It won’t tilt forward when worn
This is especially important for heavier toppers like beads or charms.
✔ Let It Fully Cure Before Wearing
Tempting as it is, don’t rush the drying process.
-
E6000 needs a full 24 hours to cure.
-
UV resin may seem dry after a minute, but give it 5–10 minutes to cool and finish hardening.
Wearing it too soon = topper popping off mid-wear.
Where to Find Materials (Without Breaking the Bank)
You don’t need high-end supplies to make earrings that look great. These are your best sources for beginner-friendly, budget-conscious materials.
🛒 Craft Stores (In-Person)
-
Michaels: Great for beads, glue, and base metals.
-
JoAnn Fabrics: Often carries starter kits and pliers.
-
Hobby Lobby: Good selection of charms, cabochons, and earring posts.
Bonus: Look out for weekly coupons or craft store apps that offer 30–50% off!
🛍 Online Shops
-
Amazon: Fast shipping and multi-pack earring kits.
-
Etsy: Handmade or unique components like polymer clay pieces or custom charms.
-
Fire Mountain Gems: Bulk options and higher-end gemstone beads.
-
AliExpress: Very affordable, especially for variety packs, but allow longer shipping times.
📦 Beginner-Friendly Kits
Search for: “Make Your Own Stud Earrings Kit”
What’s usually included:
-
Earring posts and backs
-
Beads, charms, or cabochons
-
Jewelry glue
-
Step-by-step instructions
Great for gifts, group crafts, or total beginners who want an all-in-one option.
Conclusion: Make It Yours
Whether you're into sparkle, minimalism, funky shapes, or natural materials, making your own stud earrings is easier, and more rewarding, than you might think.
With just a few materials, a drop of glue, and your own design flair, you can create something totally personal and 100% wearable.
🔁 Let’s Recap:
-
✅ You only need basic tools: posts, glue, toppers, and backs.
-
🧷 You can get creative with beads, charms, wire, gemstones, or resin.
-
🧼 Clean your surfaces and avoid over-gluing for a strong, polished result.
-
🎯 Use 20–22 gauge wire, lightweight materials, and disc backs for comfort.
-
📦 Ready-made kits or budget materials from local and online stores are perfect for getting started.