How to Make Dangling Earrings: An Easy DIY Guide
Dangling earrings hold a special charm, they gracefully move with every turn of your head, catching the light and effortlessly adding elegance to your look. From delicate designs to statement pieces, dangling earrings remain popular because they're versatile, expressive, and stylish.
Creating your own custom earrings at home brings added joy and satisfaction. Not only can you craft jewelry perfectly suited to your style and wardrobe, but handmade earrings also make thoughtful, personalized gifts for loved ones. Plus, it’s a fun, relaxing hobby that lets you express your creativity without breaking the bank.
Materials Needed
To get started, you’ll need a few basic supplies. Gathering these ahead of time will make the process smooth and enjoyable.
Essential Supplies
-
Earring Hooks: Available in various metals such as stainless steel, sterling silver, or gold-plated options.
-
Jewelry Wire or Eye Pins: Perfect for stringing beads and creating sturdy dangling elements.
-
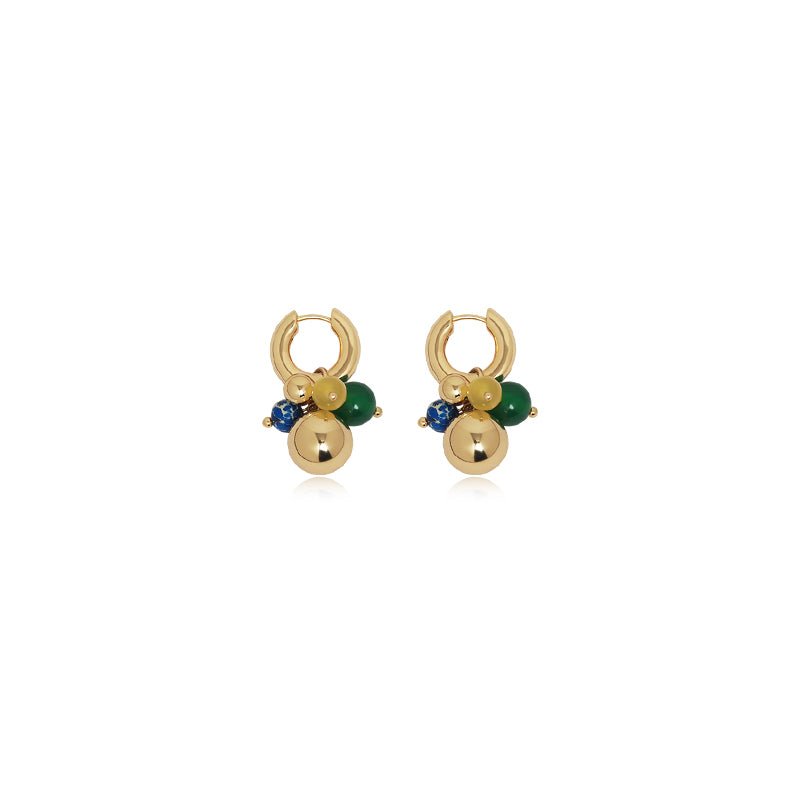
Beads, Charms, or Gemstones: Choose based on your personal style, glass beads, crystals, pearls, or semi-precious stones.
-
Jump Rings: Small metal rings used to connect your earrings securely.
-
Jewelry Pliers: You'll want round-nose pliers for loops, chain-nose pliers for gripping, and wire cutters for trimming.
-
Optional Decorative Elements: Tassels or pendants for additional flair.
Budget-Friendly Tips
If you're working with a tight budget, consider visiting local craft stores like Michaels or Hobby Lobby, or online marketplaces like Etsy or Amazon. Buying supplies in bulk can save money.
You can also recycle old jewelry pieces. Vintage necklaces or broken earrings often have beautiful beads or charms you can repurpose, saving both money and the environment.
Choosing Your Design

Your earring design sets the tone for your finished piece. Consider styles like minimalist, boho, vintage, or modern geometric.
Minimalist earrings typically feature clean, simple shapes and limited elements. Boho earrings often include colorful beads, tassels, and feathers, creating a relaxed, artistic look. Vintage earrings might use antique-style charms and ornate beads, while modern geometric earrings usually showcase bold, angular shapes.
For inspiration, check Pinterest or Instagram, where countless ideas can help spark your creativity.
Understanding Balance and Weight
Comfort matters just as much as style. Heavy earrings might look beautiful but can be uncomfortable. Select lightweight materials like acrylic beads, hollow metal components, or wood elements to ensure your earrings feel as good as they look.
Step-by-Step Tutorial
Now you're ready to start crafting your dangling earrings.
Step 1: Preparing Your Elements
First, prepare your materials by cutting your jewelry wire or eye pins to the correct length, leaving about one inch extra to form loops.
Next, arrange your beads, charms, or gemstones in the order you want. This step allows you to experiment and visualize your design clearly.
Selecting Colors and Materials
Colors significantly impact the look of your earrings. A simple understanding of color theory helps here:
-
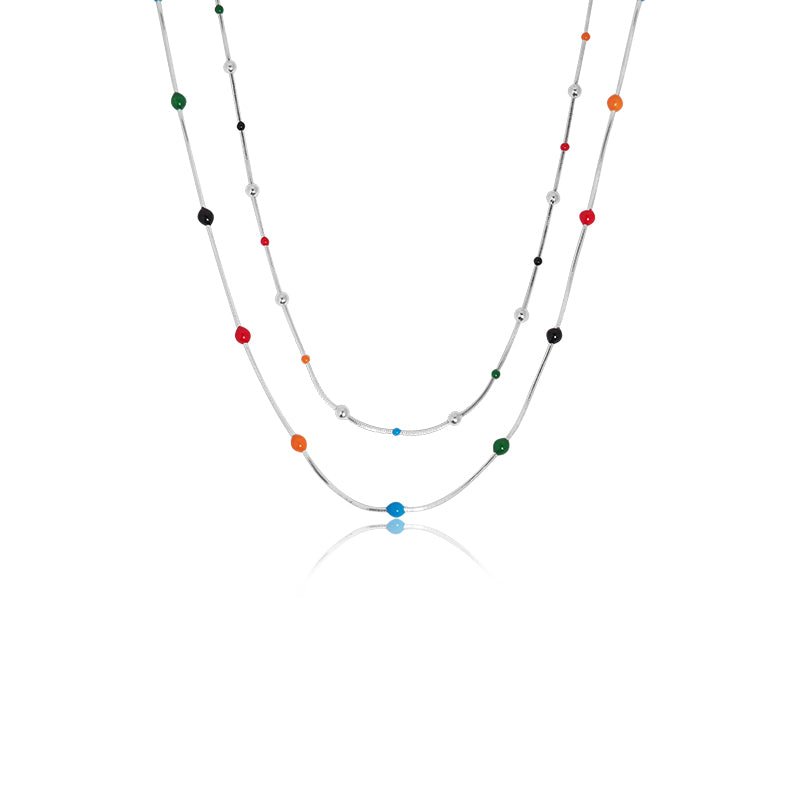
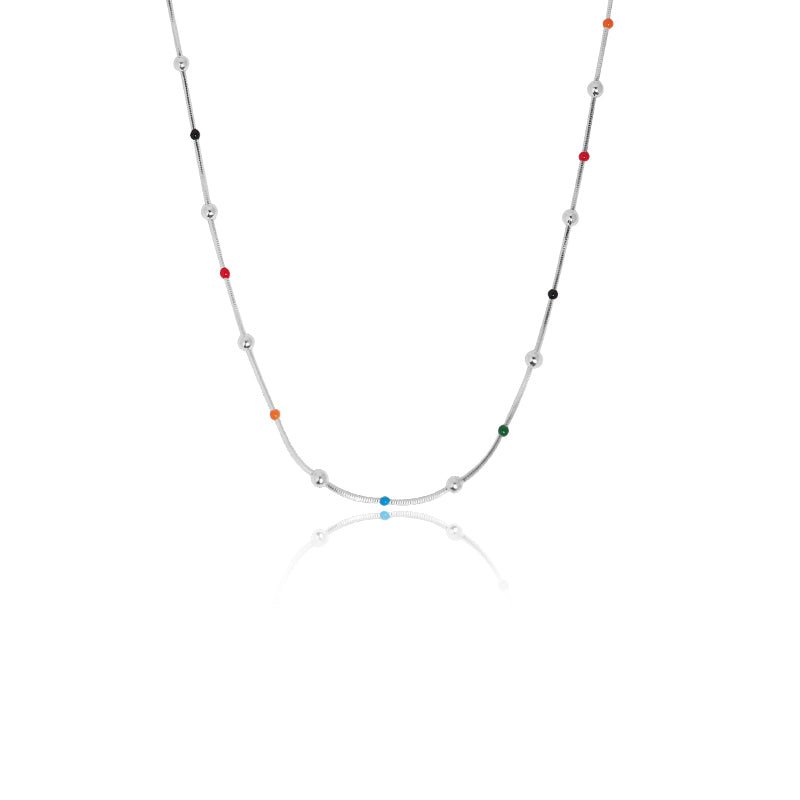
Complementary colors, like blue and orange, create vivid contrasts.
-
Monochromatic schemes using various shades of one color give a harmonious look.
-
Analogous colors, such as blue, teal, and green, blend seamlessly for subtle beauty.
Choose colors that align with your wardrobe or personal preferences.
Step 2: Assembling the Earrings
Follow these clear steps to assemble your earrings:
-
Create Loops: Use round-nose pliers to create a small loop at one end of your wire or pin by gripping the end and gently turning it into a circular shape.
-
Secure Beads and Charms: Thread your beads onto the wire, then form another loop at the other end to secure them.
-
Connect Elements: Use jump rings to attach additional charms or decorative elements, opening and closing rings carefully with pliers.
-
Attach Earring Hooks: Finally, use another jump ring to securely attach the completed dangling component to the earring hook, making sure everything faces the right direction for comfortable wearing.
Adding Movement and Visual Interest
To create earrings that move beautifully, use different lengths and textures. Layering multiple beads or charms, or adding chain segments between elements, will create delightful movement and visual appeal.
Step 3: Finishing Touches
-
Check for Symmetry: Hold both earrings side-by-side to ensure they're symmetrical in length and design.
-
Secure Closures: Verify that all loops and jump rings are securely closed to avoid any loss of beads or charms.
-
Final Adjustments: Polish metal elements with a soft cloth for shine and inspect the earrings closely for any last-minute tweaks.
Helpful Tips and Tricks

These practical tips will help you achieve beautiful, wearable earrings every time.
-
Ensuring Comfort: Adjust lengths appropriately, your earrings should dangle freely without causing strain.
-
Choosing Hypoallergenic Metals: To avoid irritation, select hooks made from hypoallergenic materials like surgical steel or sterling silver.
Techniques for Customizing Earrings
Personalization makes your earrings truly unique. Incorporate meaningful charms, birthstones, or initials to give your pieces sentimental value.
Creative Ideas for Unique Designs
Don't hesitate to think outside the box! Use buttons, shells, feathers, or even repurposed fabric scraps to create something special. You can also design theme-based earrings for specific occasions or holidays:
-
Seasonal Designs: Flowers for spring, leaves for autumn.
-
Holiday Themes: Christmas trees, snowflakes, or spooky Halloween designs.
Incorporating unconventional elements not only boosts creativity but also ensures your earrings become delightful conversation starters.
Common Mistakes to Avoid
When you're learning how to make your own earrings, it's common to encounter some beginner errors. Don't worry, most of these issues are easily avoidable or fixable once you recognize them. Here are some common pitfalls and practical solutions to keep your earring-making experience enjoyable and successful.
Typical Beginner Errors
1. Improper Loop Sizing
One of the most frequent mistakes beginners make is creating loops that are either too big or too small. Large loops can look untidy and make earrings unbalanced, while small loops can make connecting components difficult.
Solution: Practice consistently using the same part of your round-nose pliers to create uniform loops. Mark your pliers with a permanent marker to remind yourself exactly where to grip each time.
2. Weak Connections
Weak or loosely closed jump rings can result in beads or charms falling off, leading to lost components.
Solution: Always twist jump rings sideways rather than pulling them apart. Use two pairs of pliers to open and close rings gently but firmly, ensuring there is no gap remaining.
3. Uneven Lengths
Uneven earrings are noticeable, especially when worn. Even slight differences in length can affect the overall look and balance.
Solution: Regularly compare both earrings side-by-side during assembly to ensure matching lengths. Use a ruler for precision if needed.
Troubleshooting Section
If you’ve already encountered a problem, don’t worry, there are easy fixes to most common assembly issues:
Loose Jump Rings
If your jump rings are loose, reopen them gently and firmly close them again, ensuring there is no visible gap. If necessary, use smaller or sturdier rings to enhance stability.
Stiff Movement
Sometimes earrings don’t move freely due to overly tight connections. Slightly loosen loops or add small segments of chain between components to provide flexibility and improve movement.
Adjusting Designs After Initial Assembly
If your design doesn't look right after assembly, carefully disassemble your earrings and rearrange beads or charms. Sometimes a simple reordering or swapping of elements can dramatically improve the appearance.
Styling and Wearing Your Earrings

Creating earrings is only half the fun, wearing them completes the joy. Here’s how to effortlessly style your handmade dangling earrings with confidence.
Matching Earrings with Outfits and Hairstyles
-
Casual Outings: Choose playful, colorful designs or simple metal dangles. They pair wonderfully with jeans, casual tops, or summer dresses.
-
Workwear: Opt for understated elegance with simple designs and muted tones or metallic finishes. Smaller, minimalist dangling earrings add professionalism without being distracting.
-
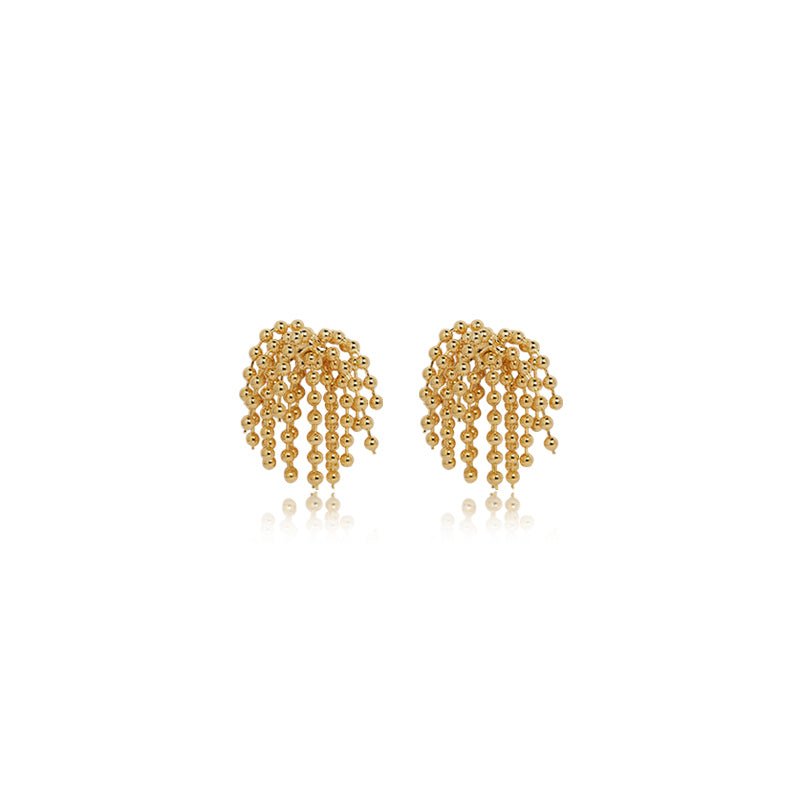
Special Occasions: Go bold with statement pieces featuring crystals, pearls, or intricate metalwork. Elegant designs complement formal dresses beautifully.
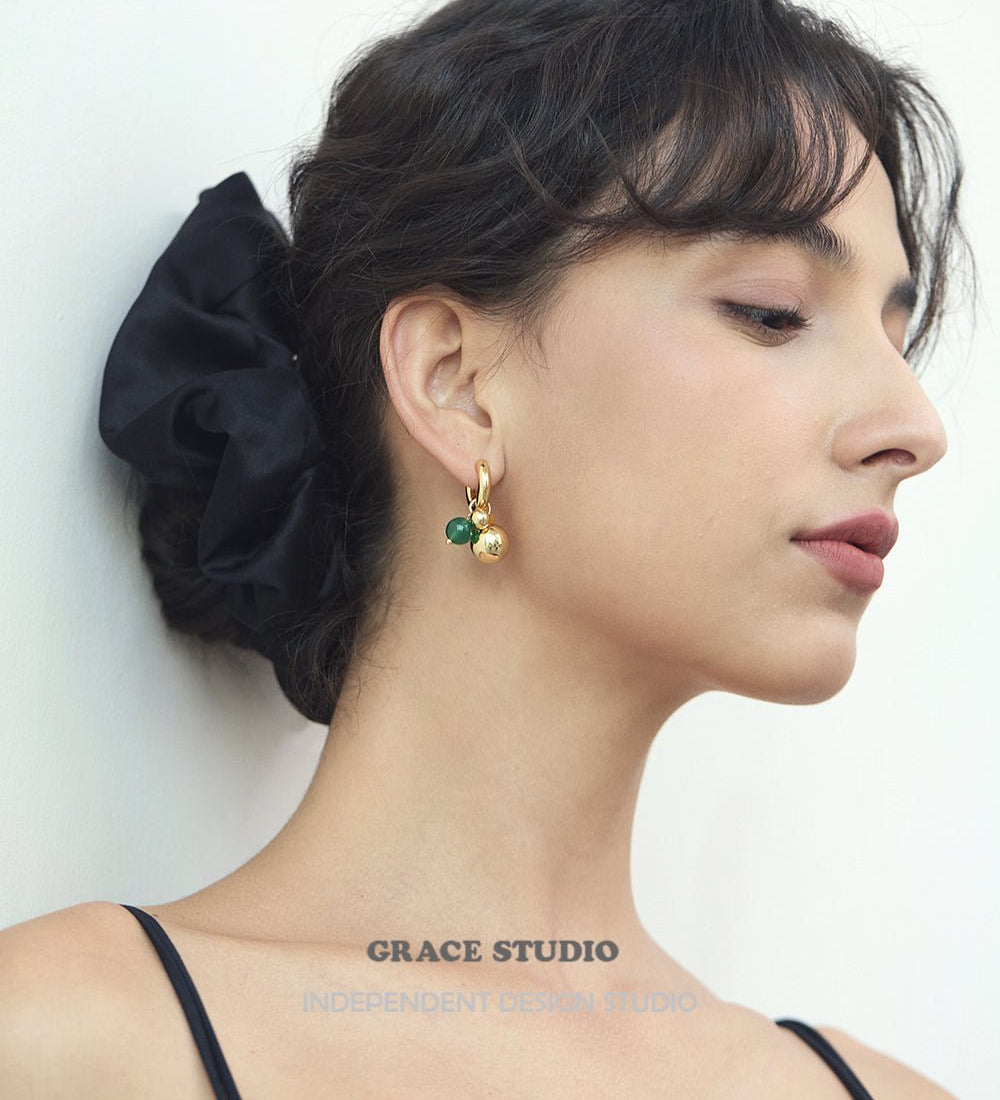
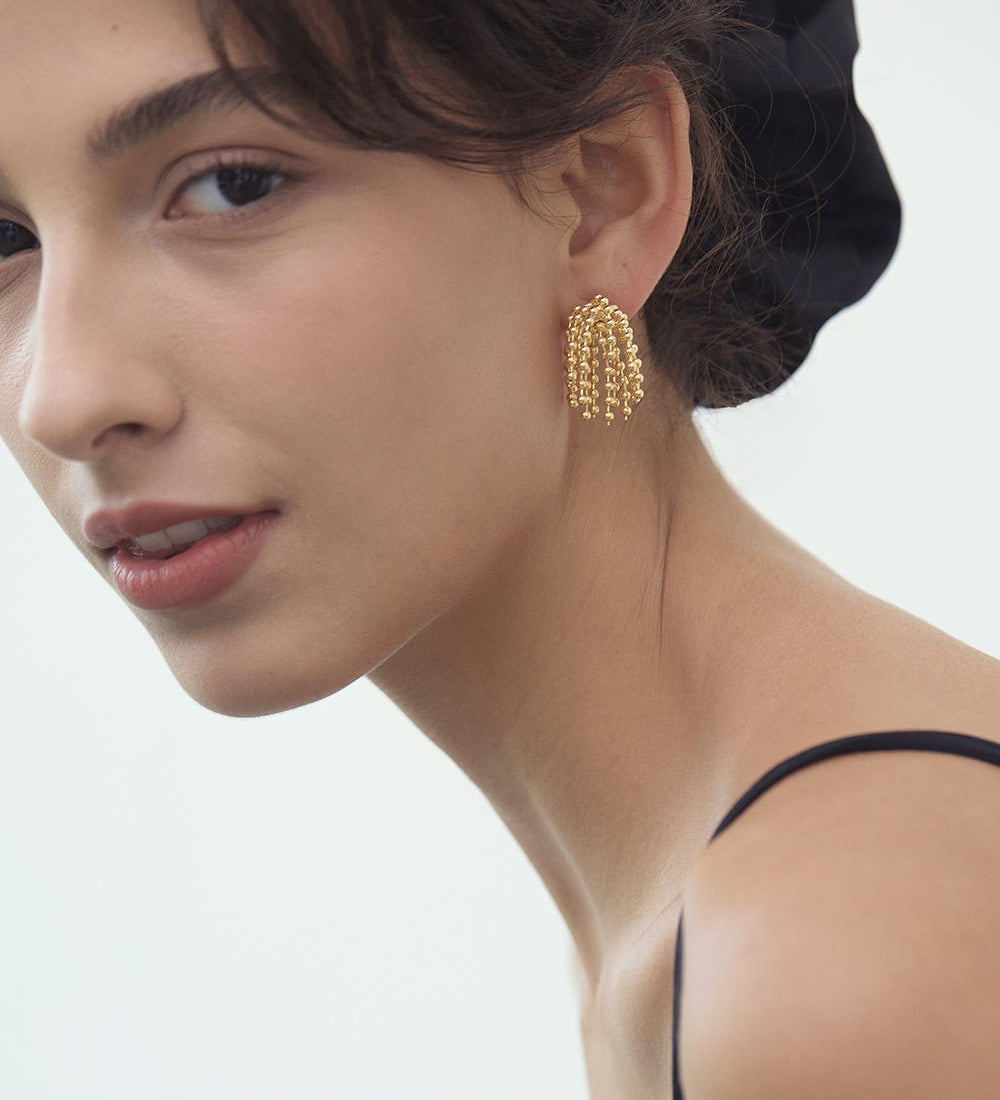
Consider hairstyles too, updos highlight your earrings wonderfully, while loose hair pairs best with longer or larger statement pieces.
How to Gift Handmade Earrings
Handmade earrings make thoughtful, cherished gifts. Here's how to present them beautifully:
Attractive Packaging
Use small jewelry boxes, fabric bags, or even handmade paper envelopes to package your earrings. Tie them with ribbons or twine for added charm.
Personalized Touches
Add handwritten notes or small cards with personal messages or care instructions. Small touches like this make gifts feel even more special and meaningful.
Maintenance and Care
Proper care helps your handmade earrings last longer and stay beautiful.
Proper Storage Techniques
Avoid tangling or damage by hanging earrings individually or storing them separately in small compartments or soft-lined jewelry boxes.
Basic Cleaning Methods
Use a soft cloth to gently clean metal parts regularly, removing fingerprints or oils. For more thorough cleaning, mild soap and warm water usually suffice. Gently dry earrings afterward to prevent oxidation.
Eco-Friendly Care Tips
Natural Cleaning Solutions
-
Baking soda mixed with water forms a gentle cleaning paste perfect for metal elements.
-
Vinegar and warm water effectively clean and brighten metal and gemstone components.
Environmentally-Friendly Storage
Reuse small glass jars or tins as storage containers for earrings. Corkboards or fabric-covered frames also offer visually appealing, eco-friendly storage solutions.
Conclusion
Crafting personalized dangling earrings is a satisfying, rewarding experience. It allows you to express your style, creativity, and care in each handmade piece. As you become more comfortable, you’ll find yourself experimenting and expanding your jewelry-making skills.
Enjoy the journey, celebrate your unique creations, and continue exploring new ideas and techniques. Happy crafting!